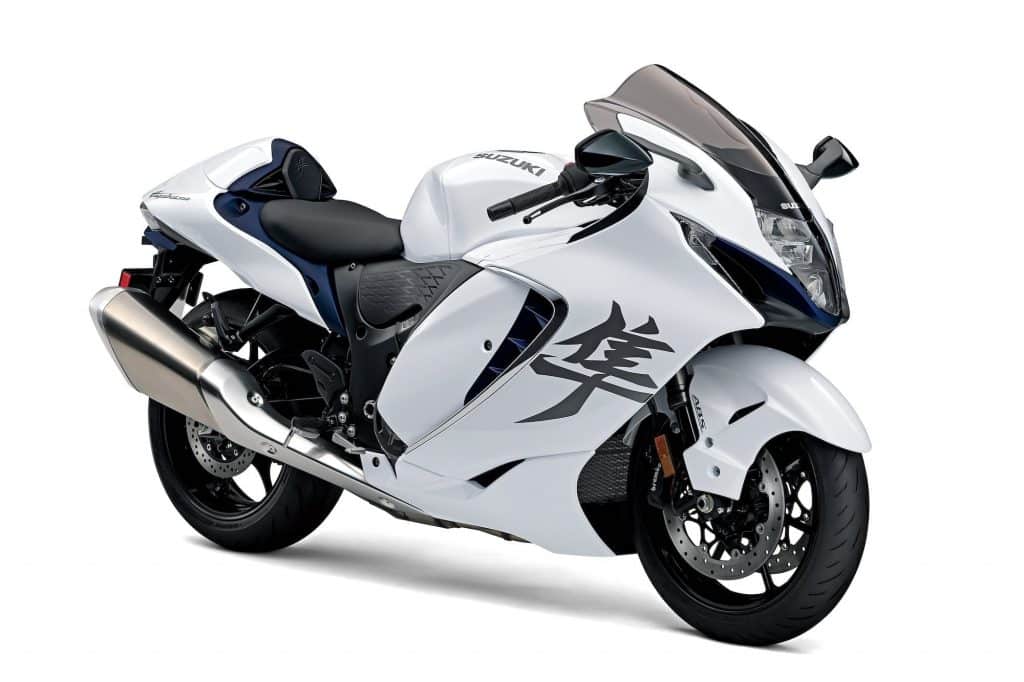
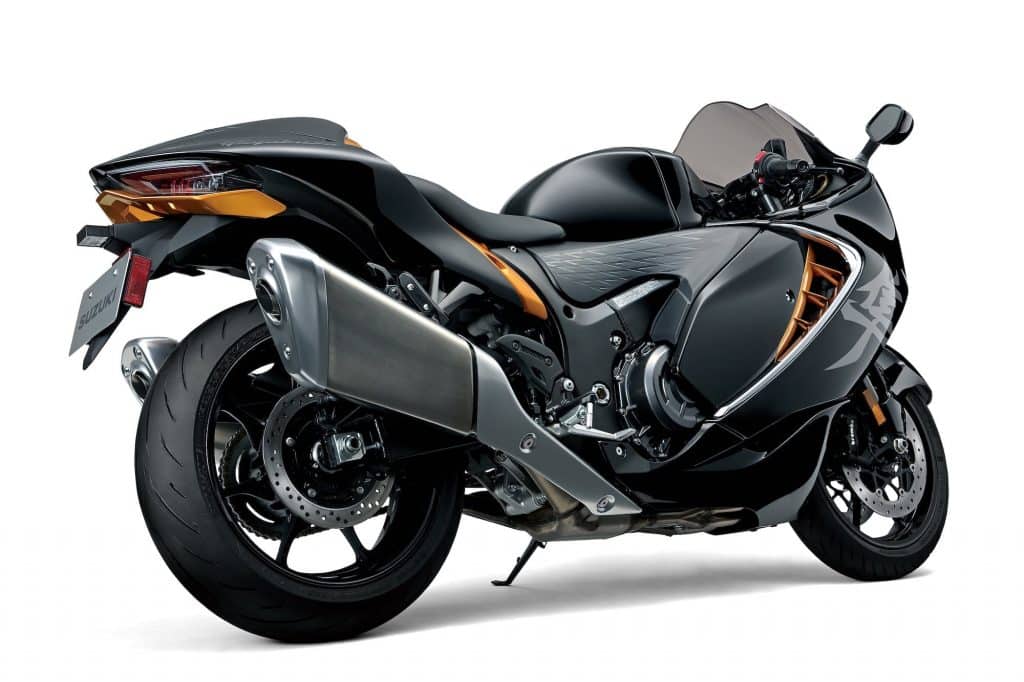
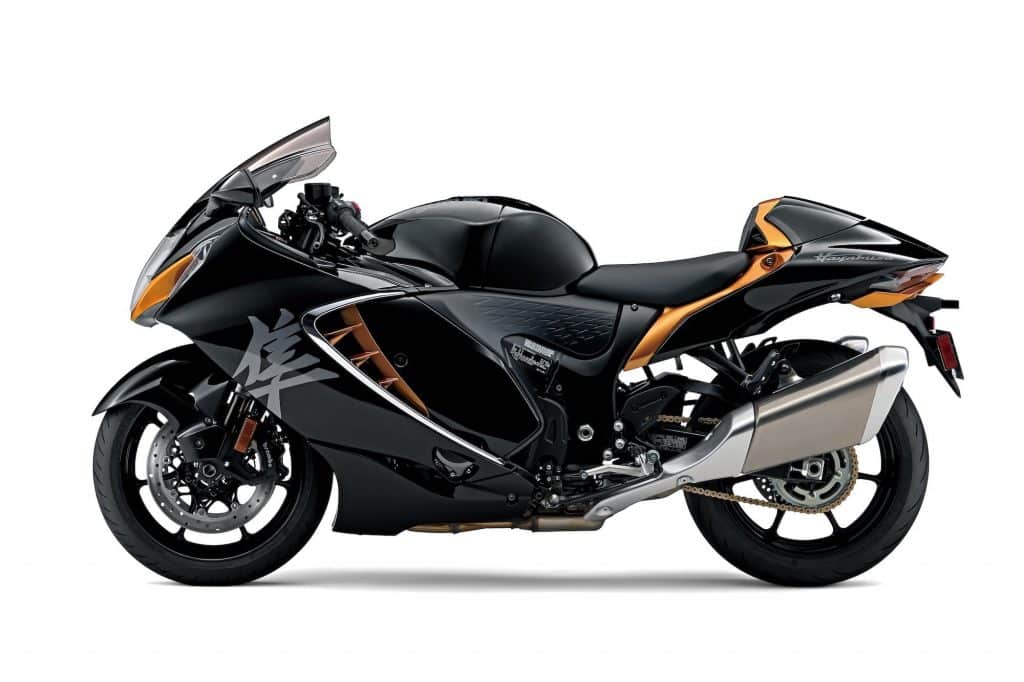
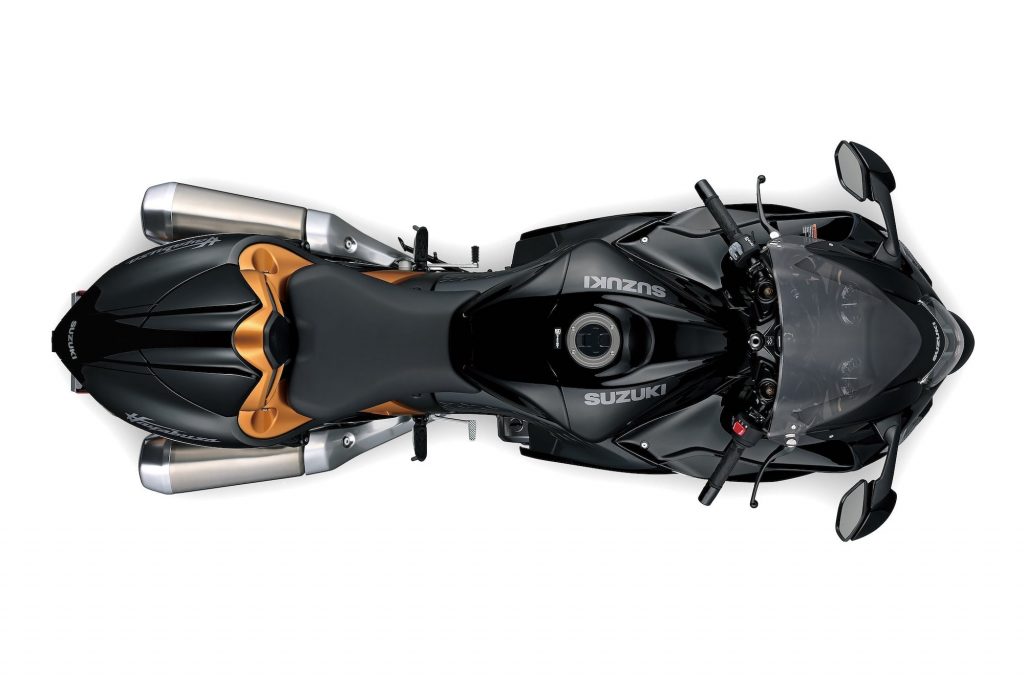
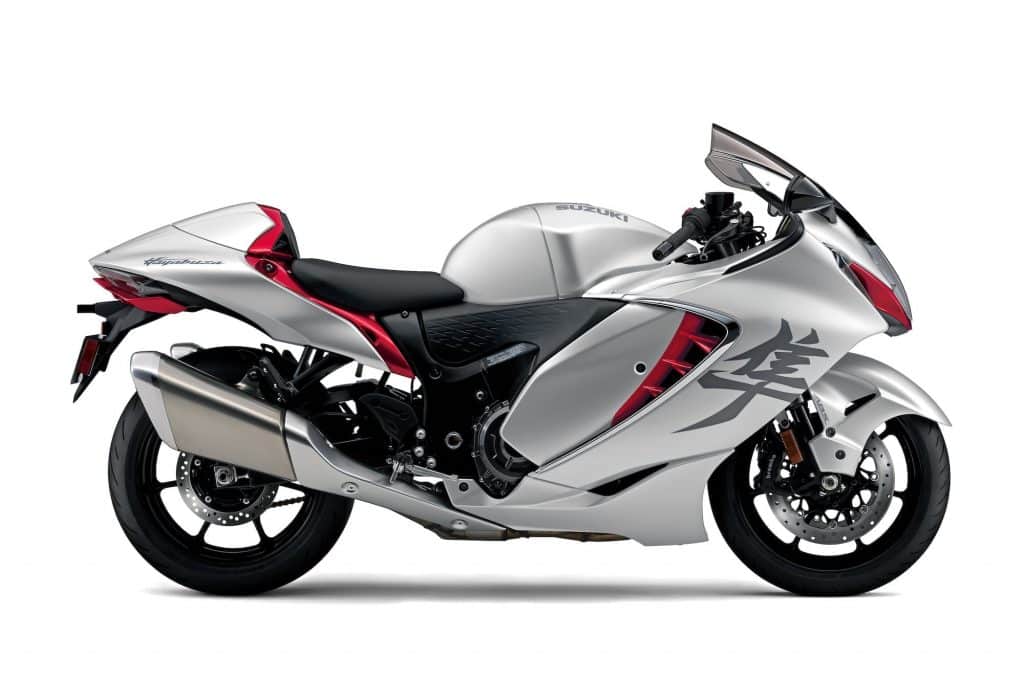
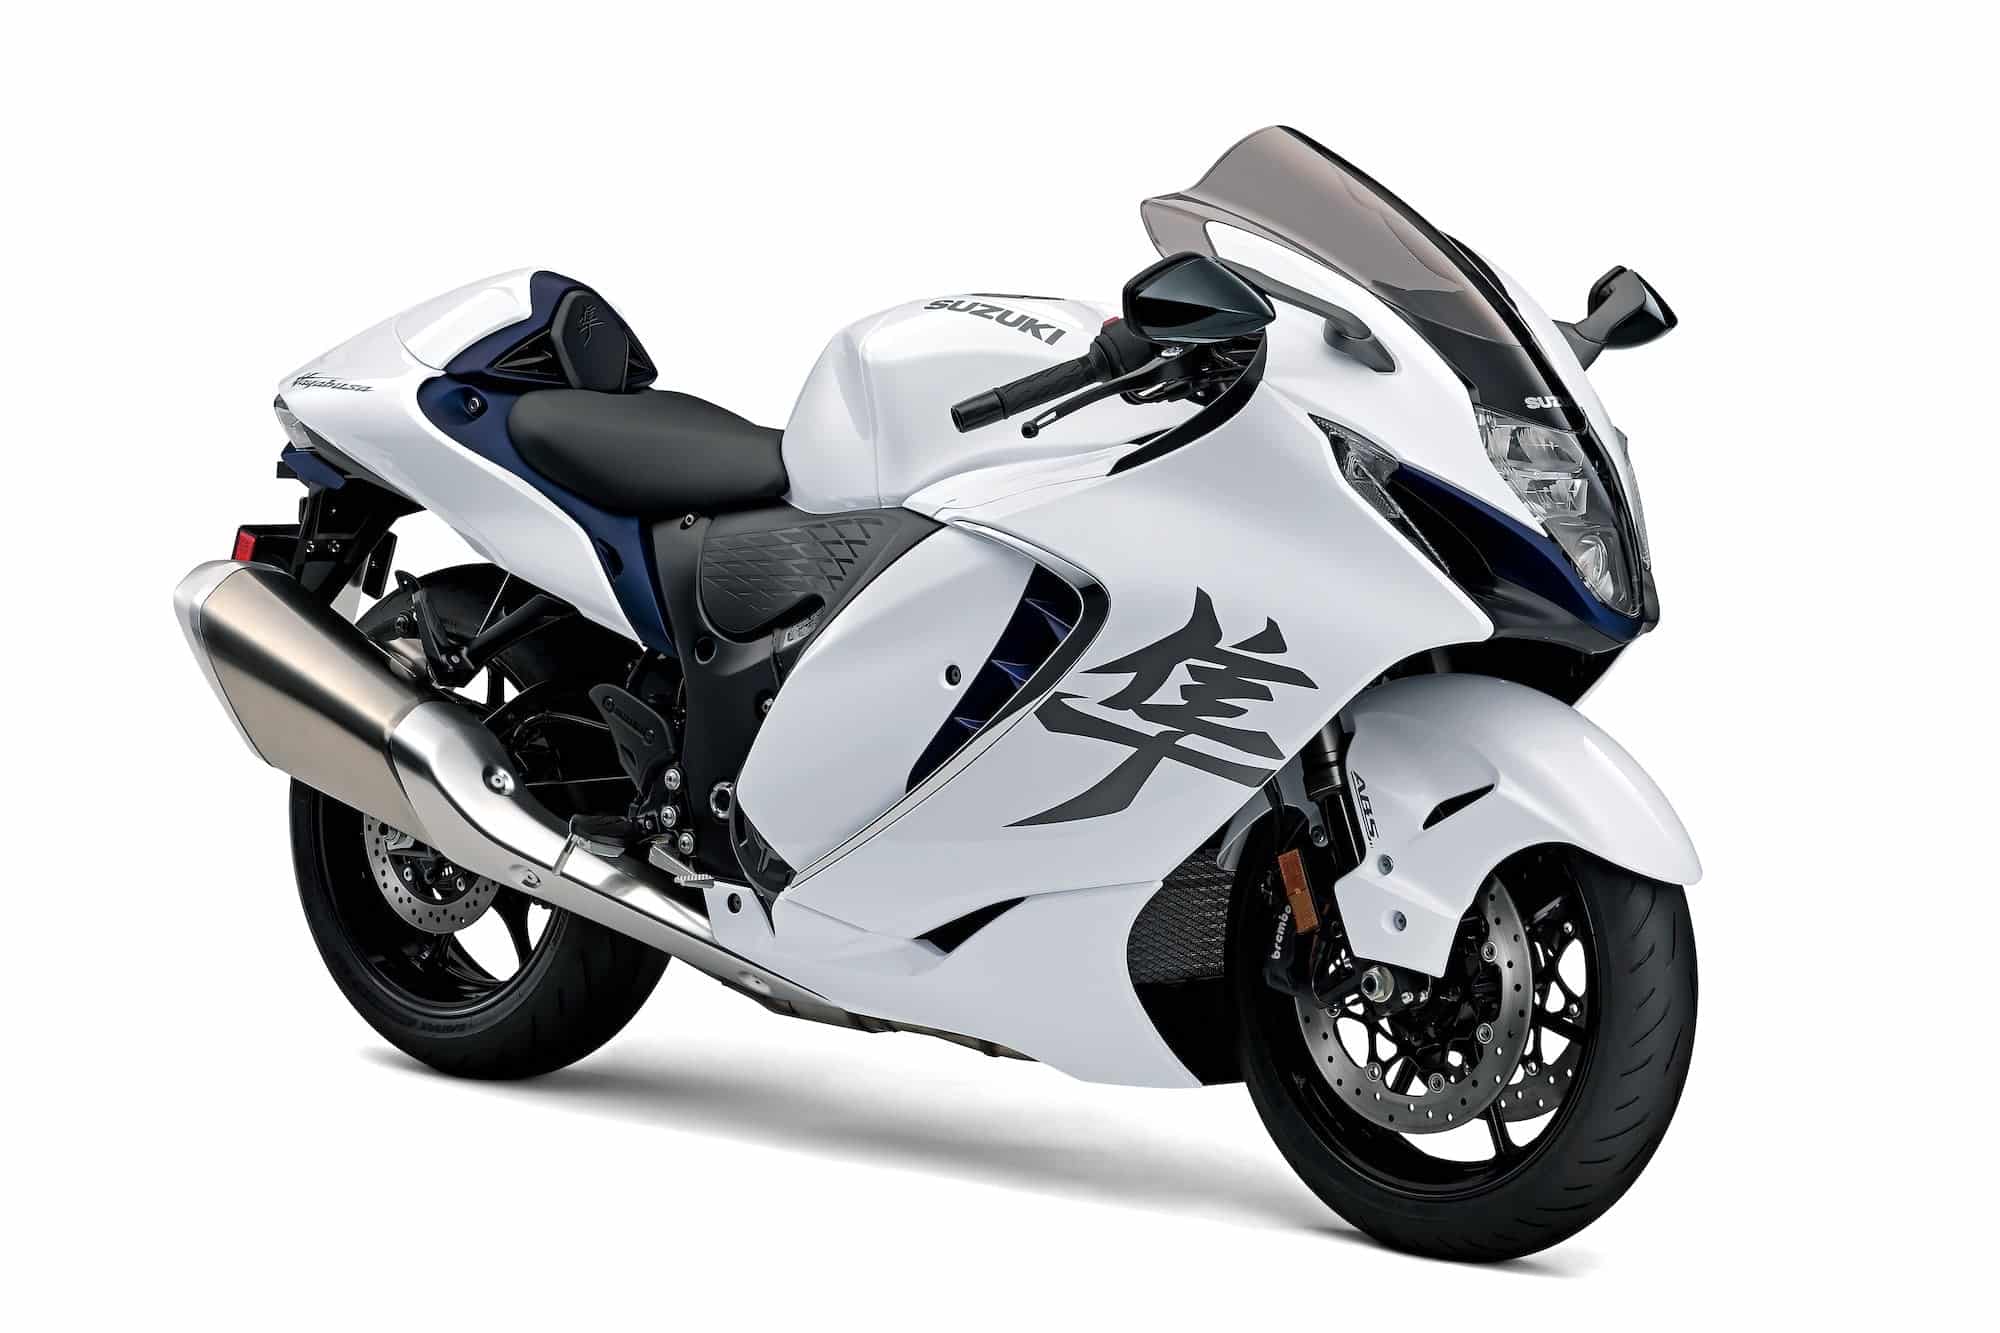
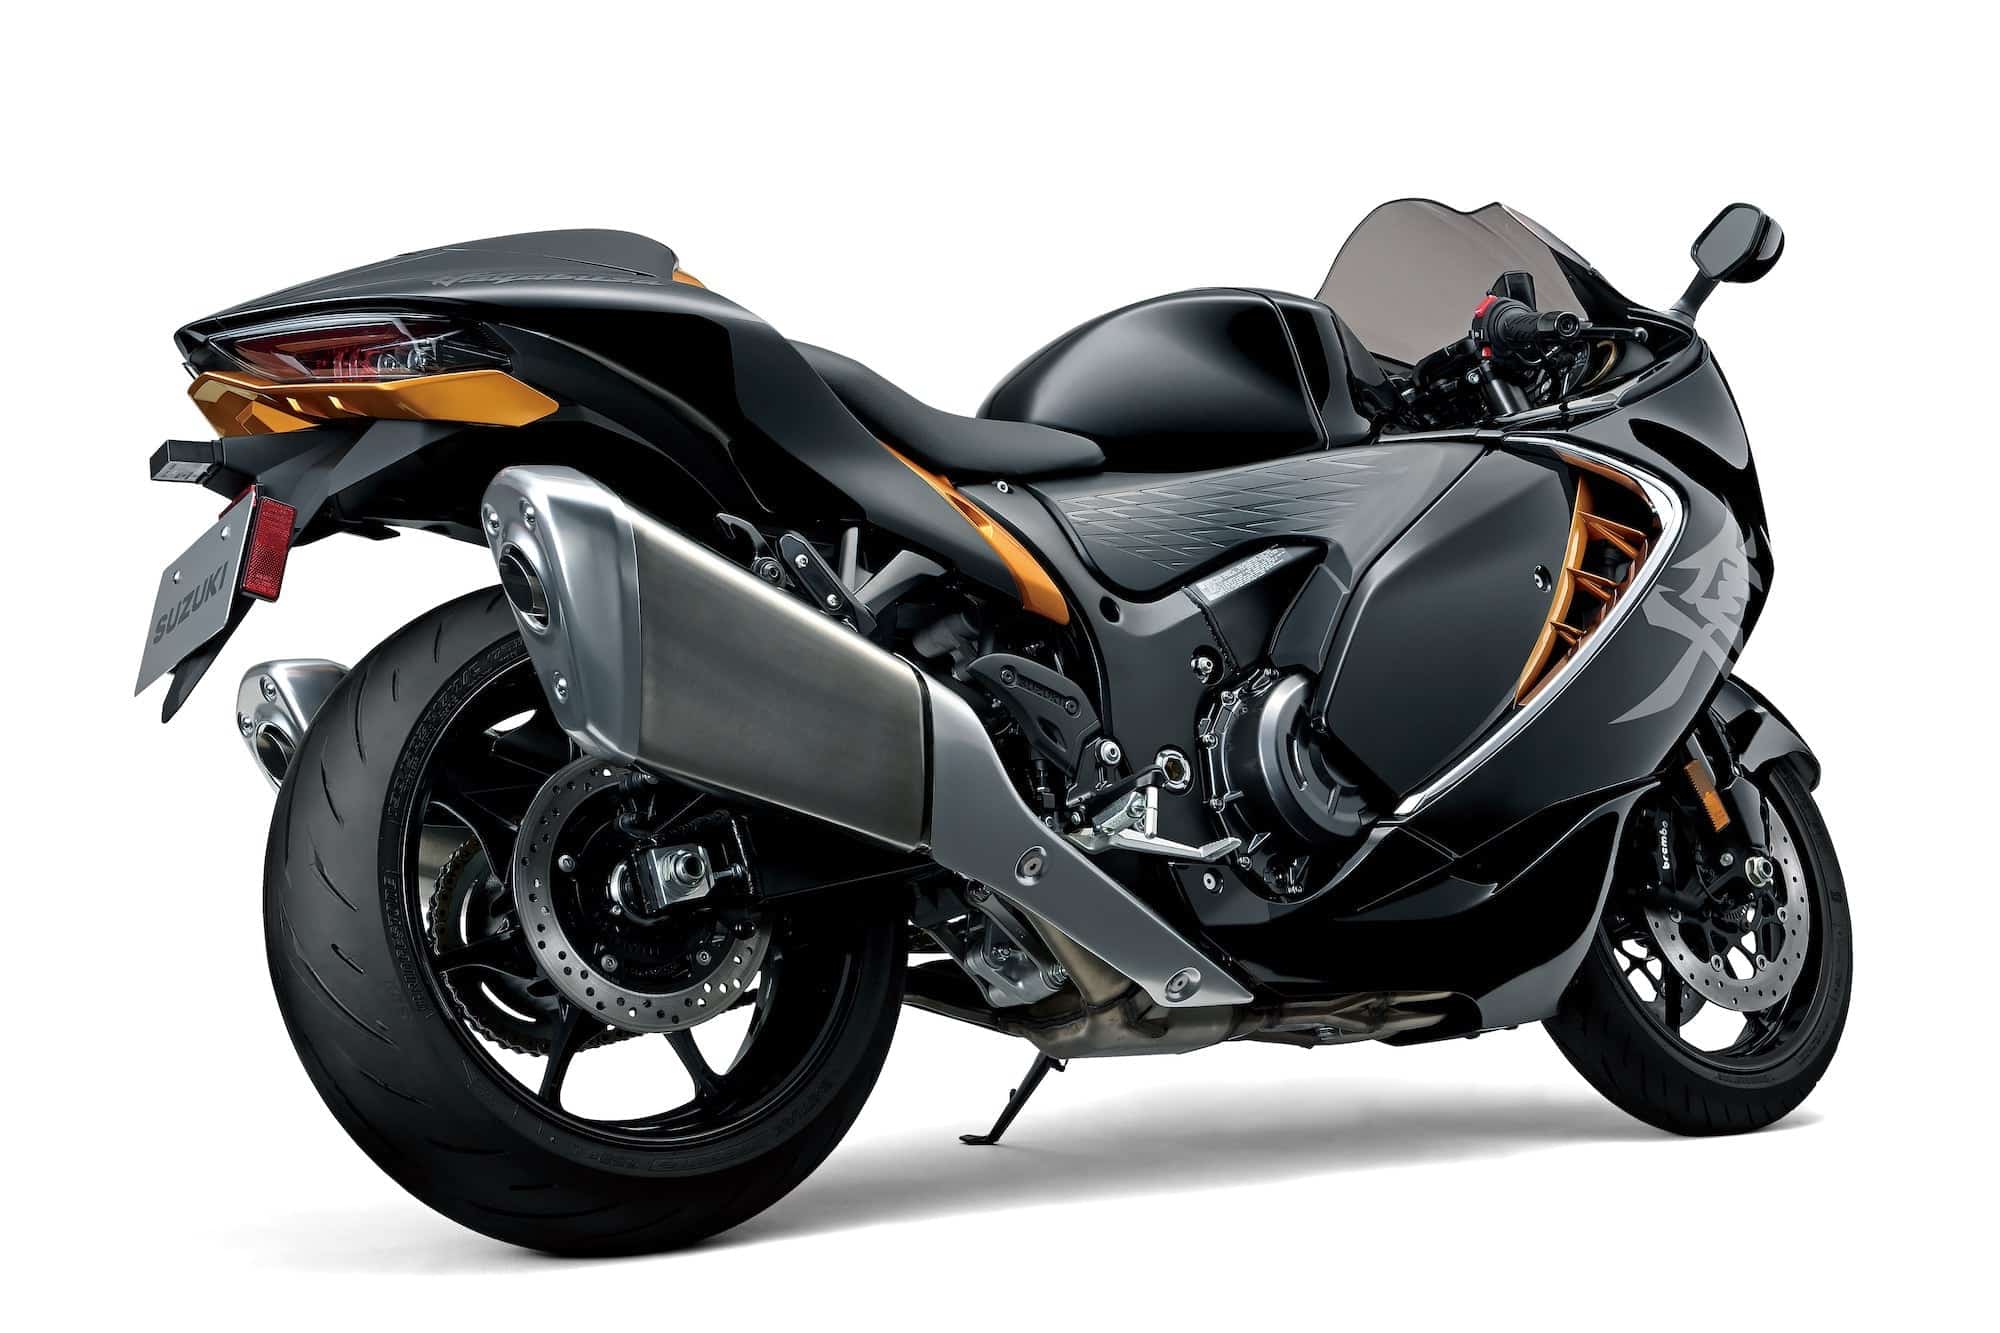
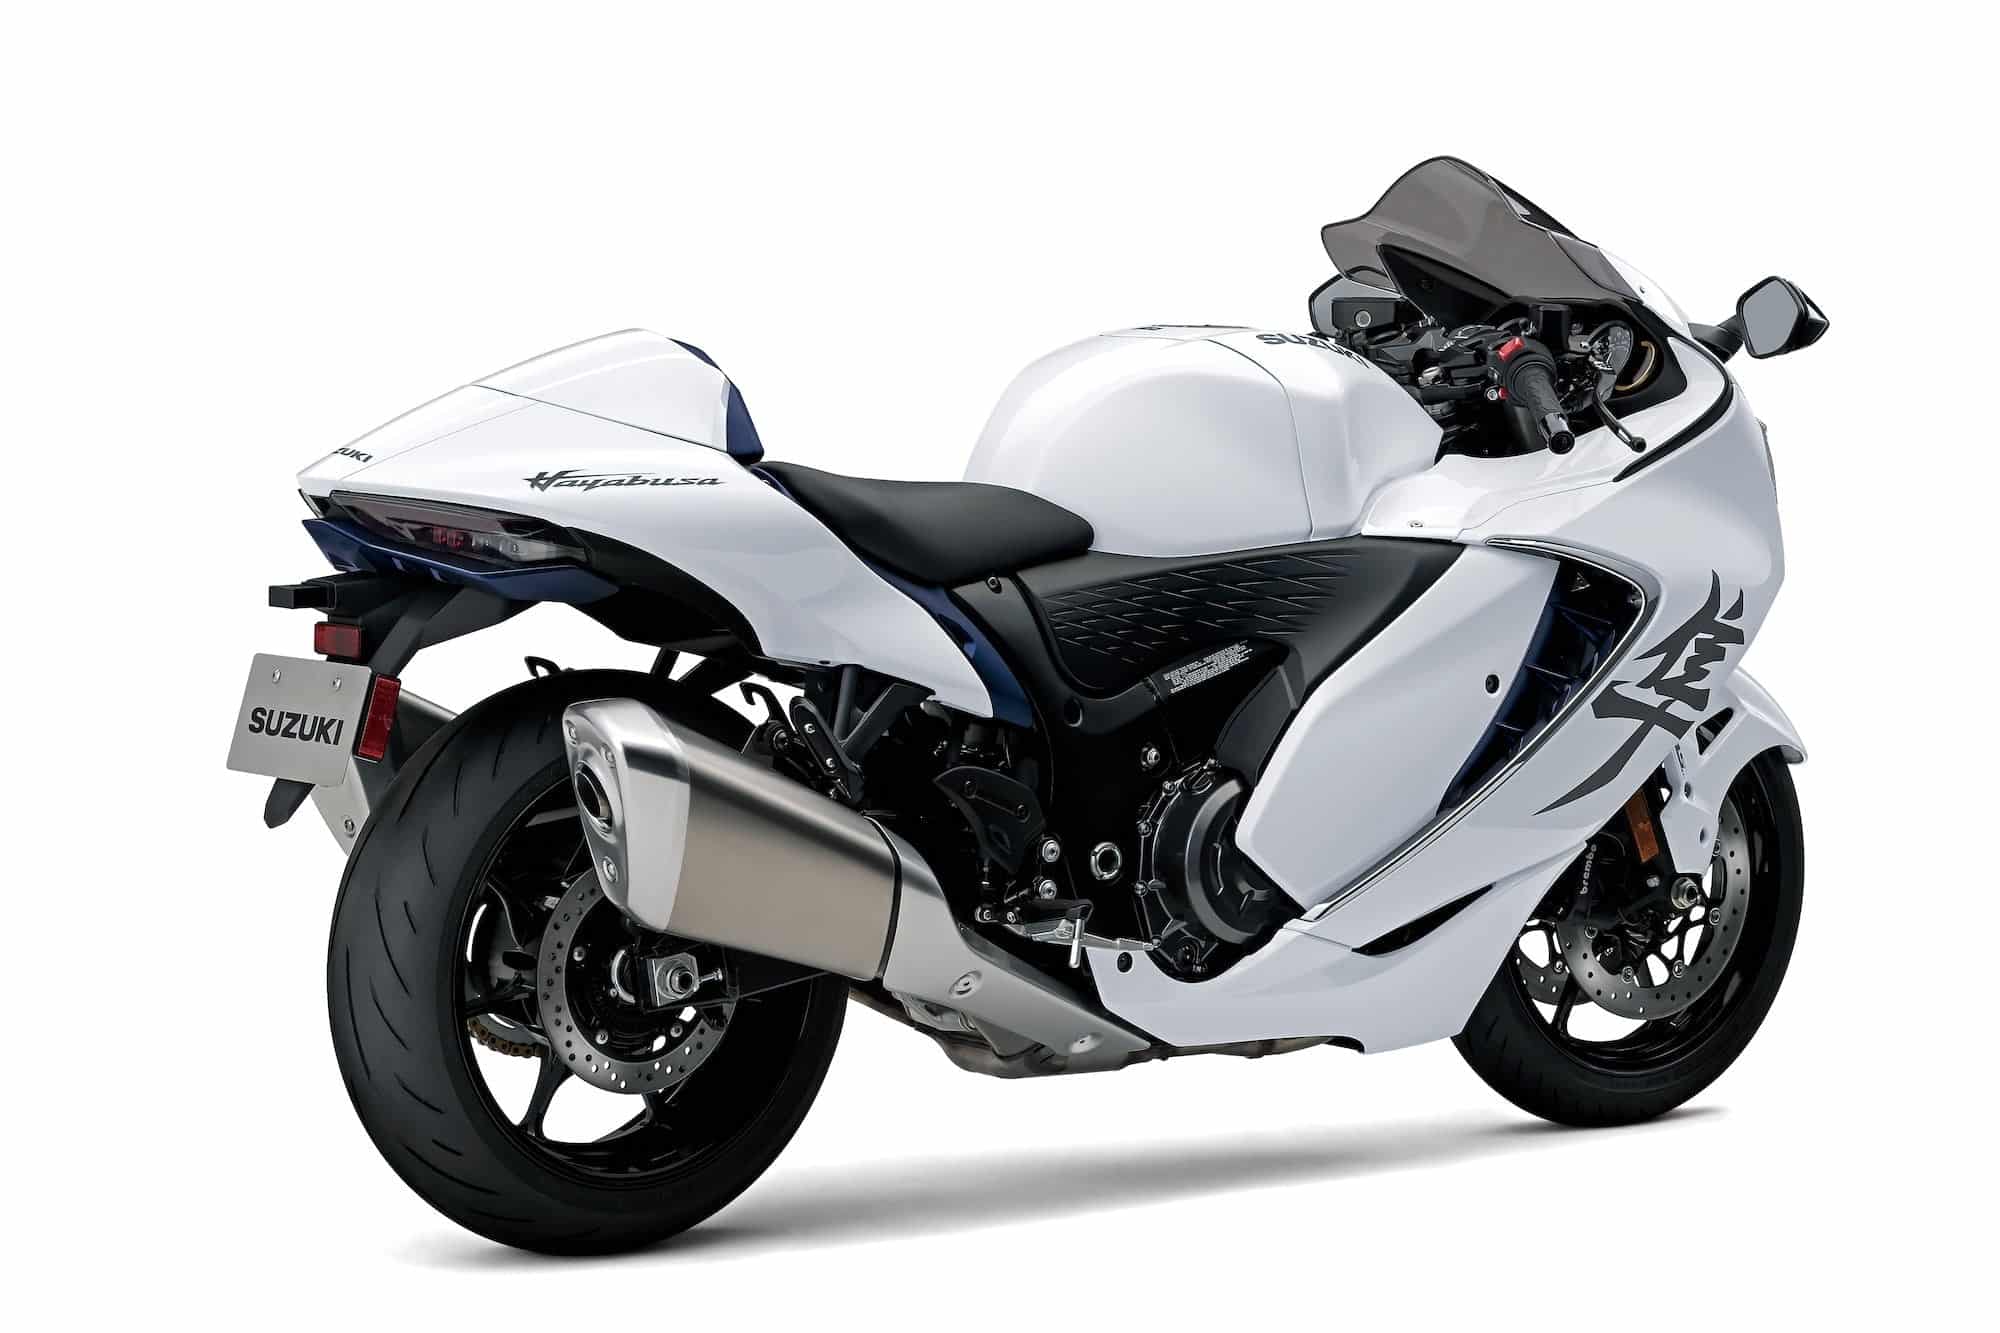
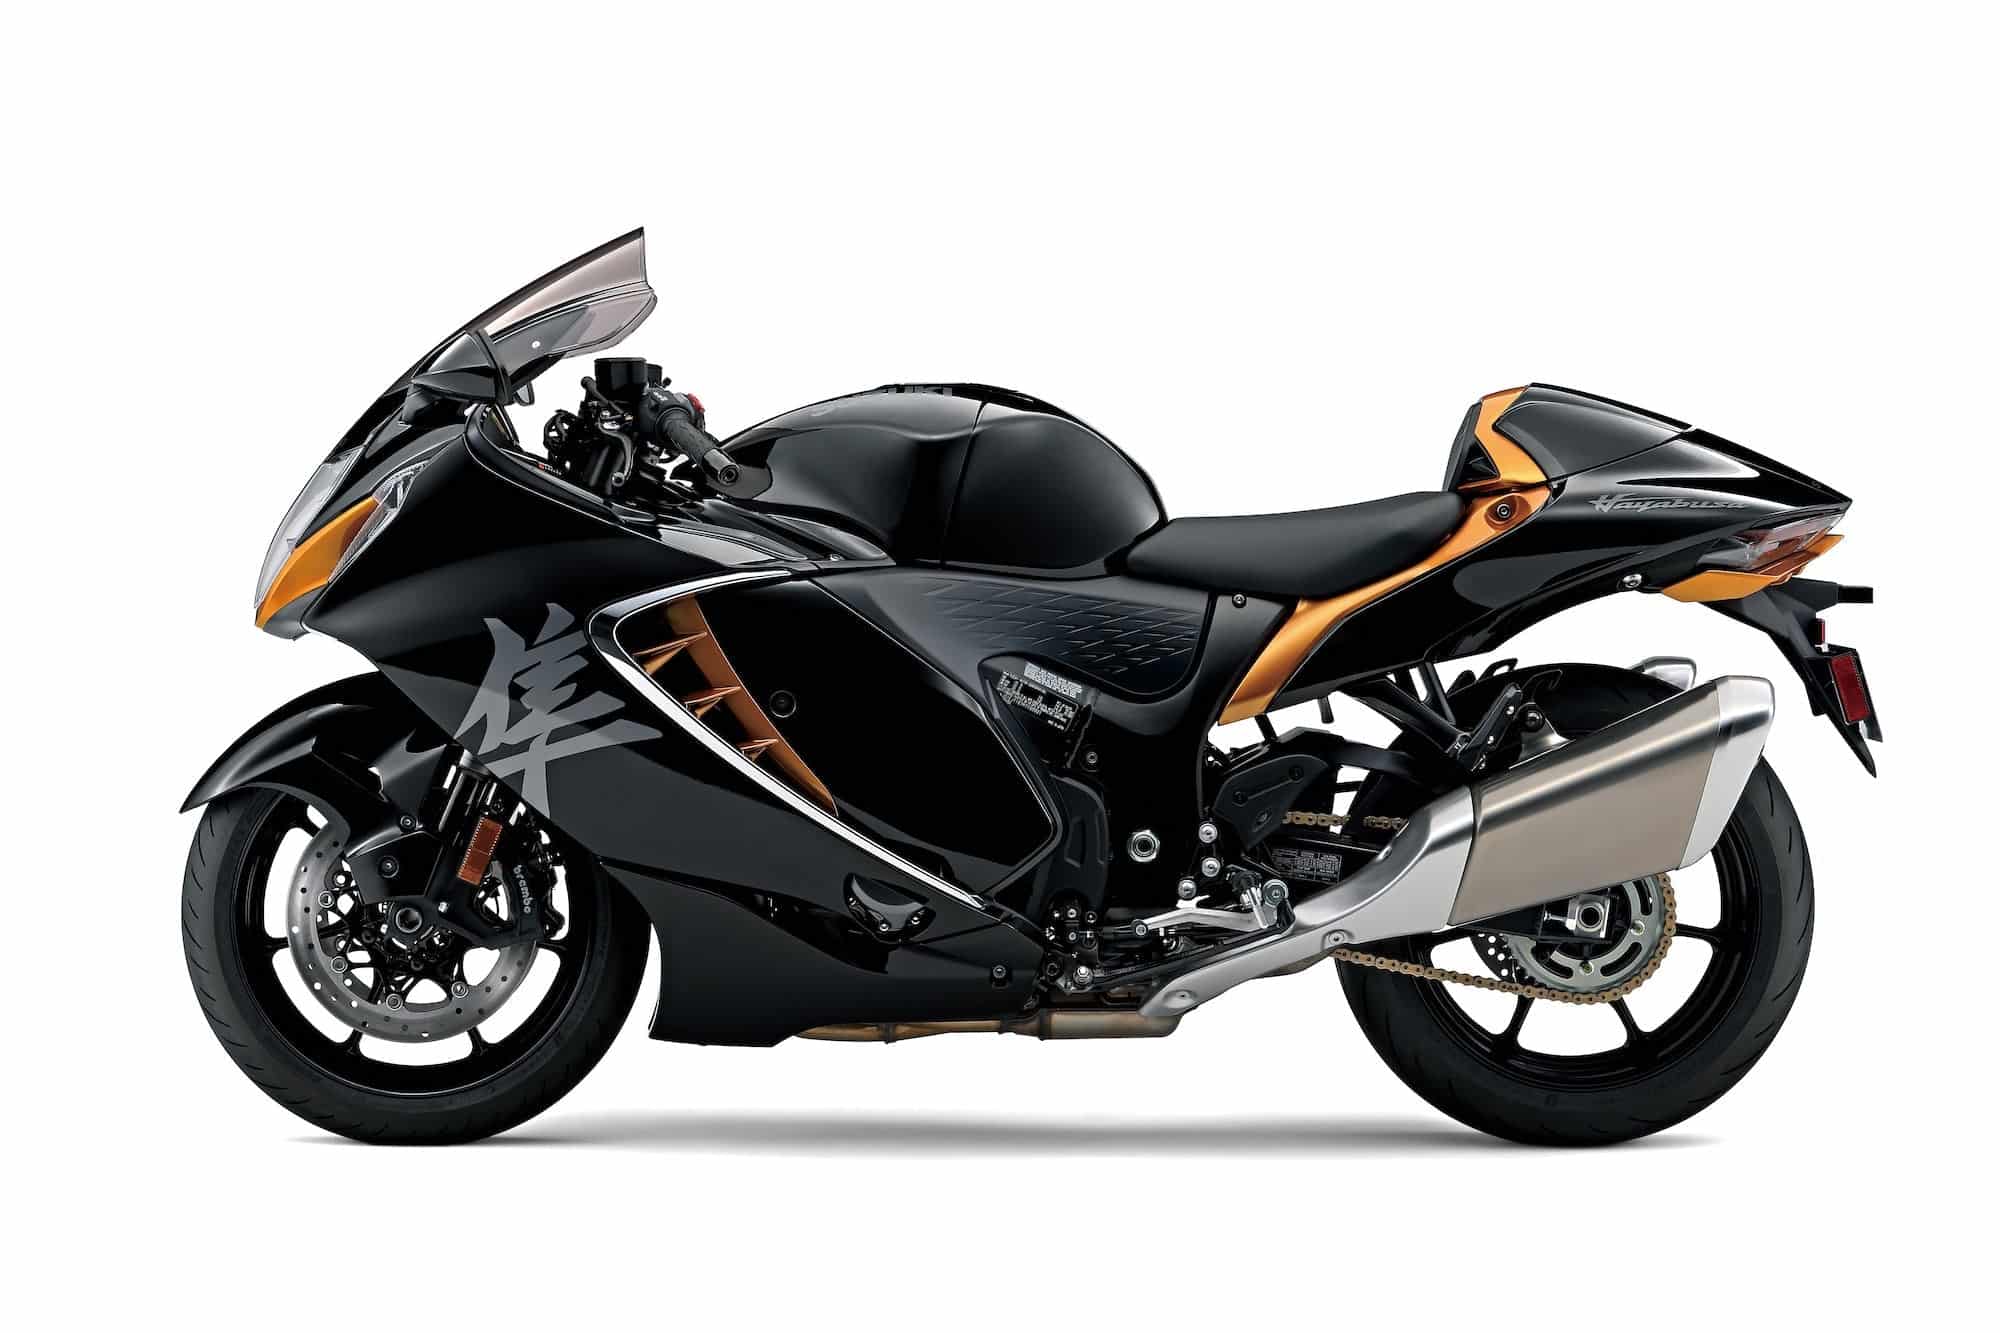
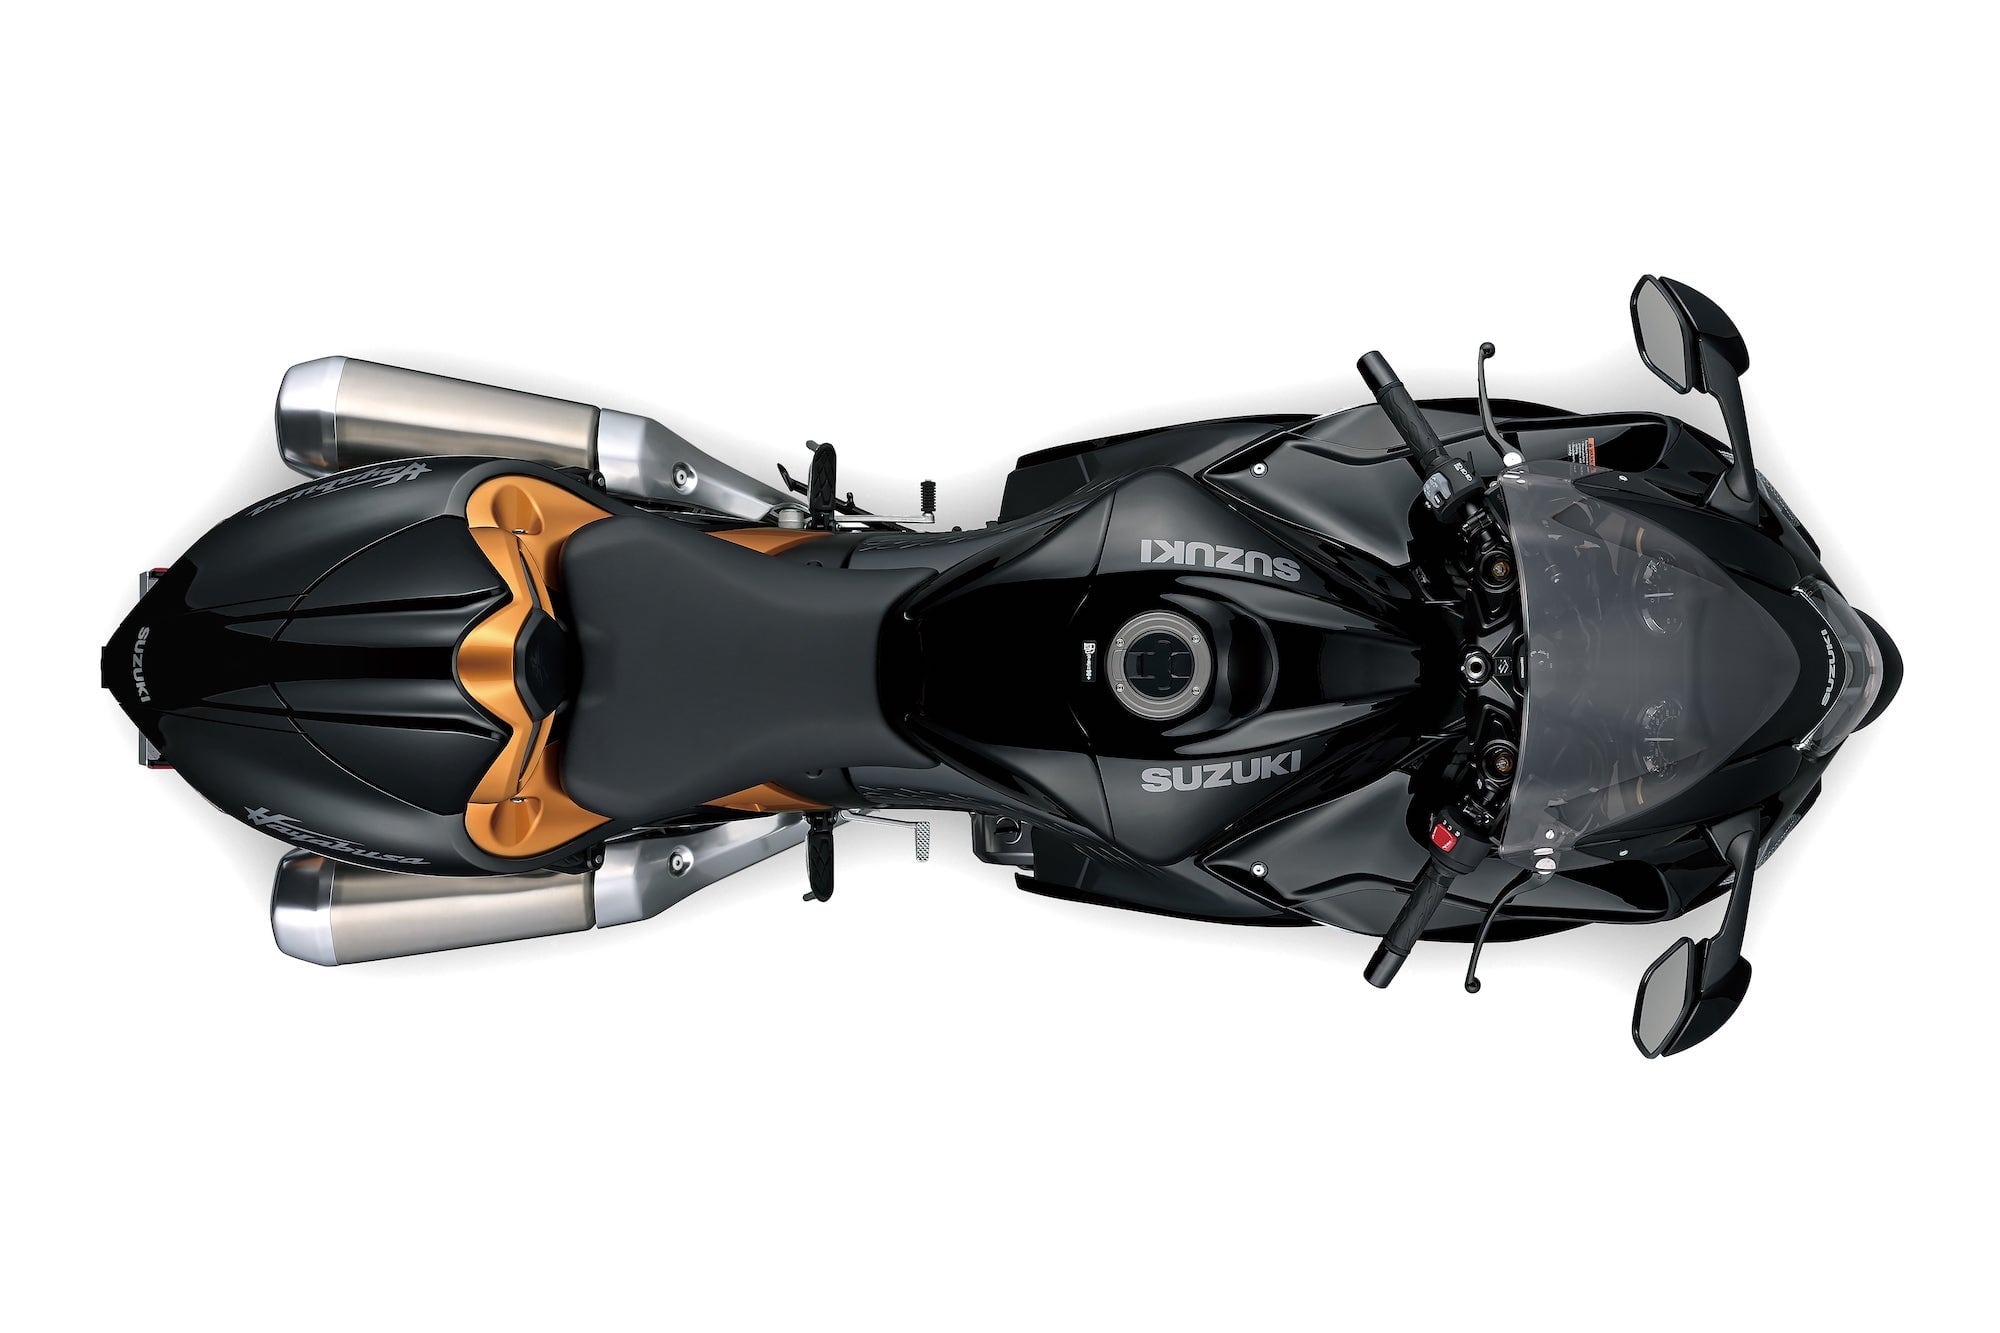
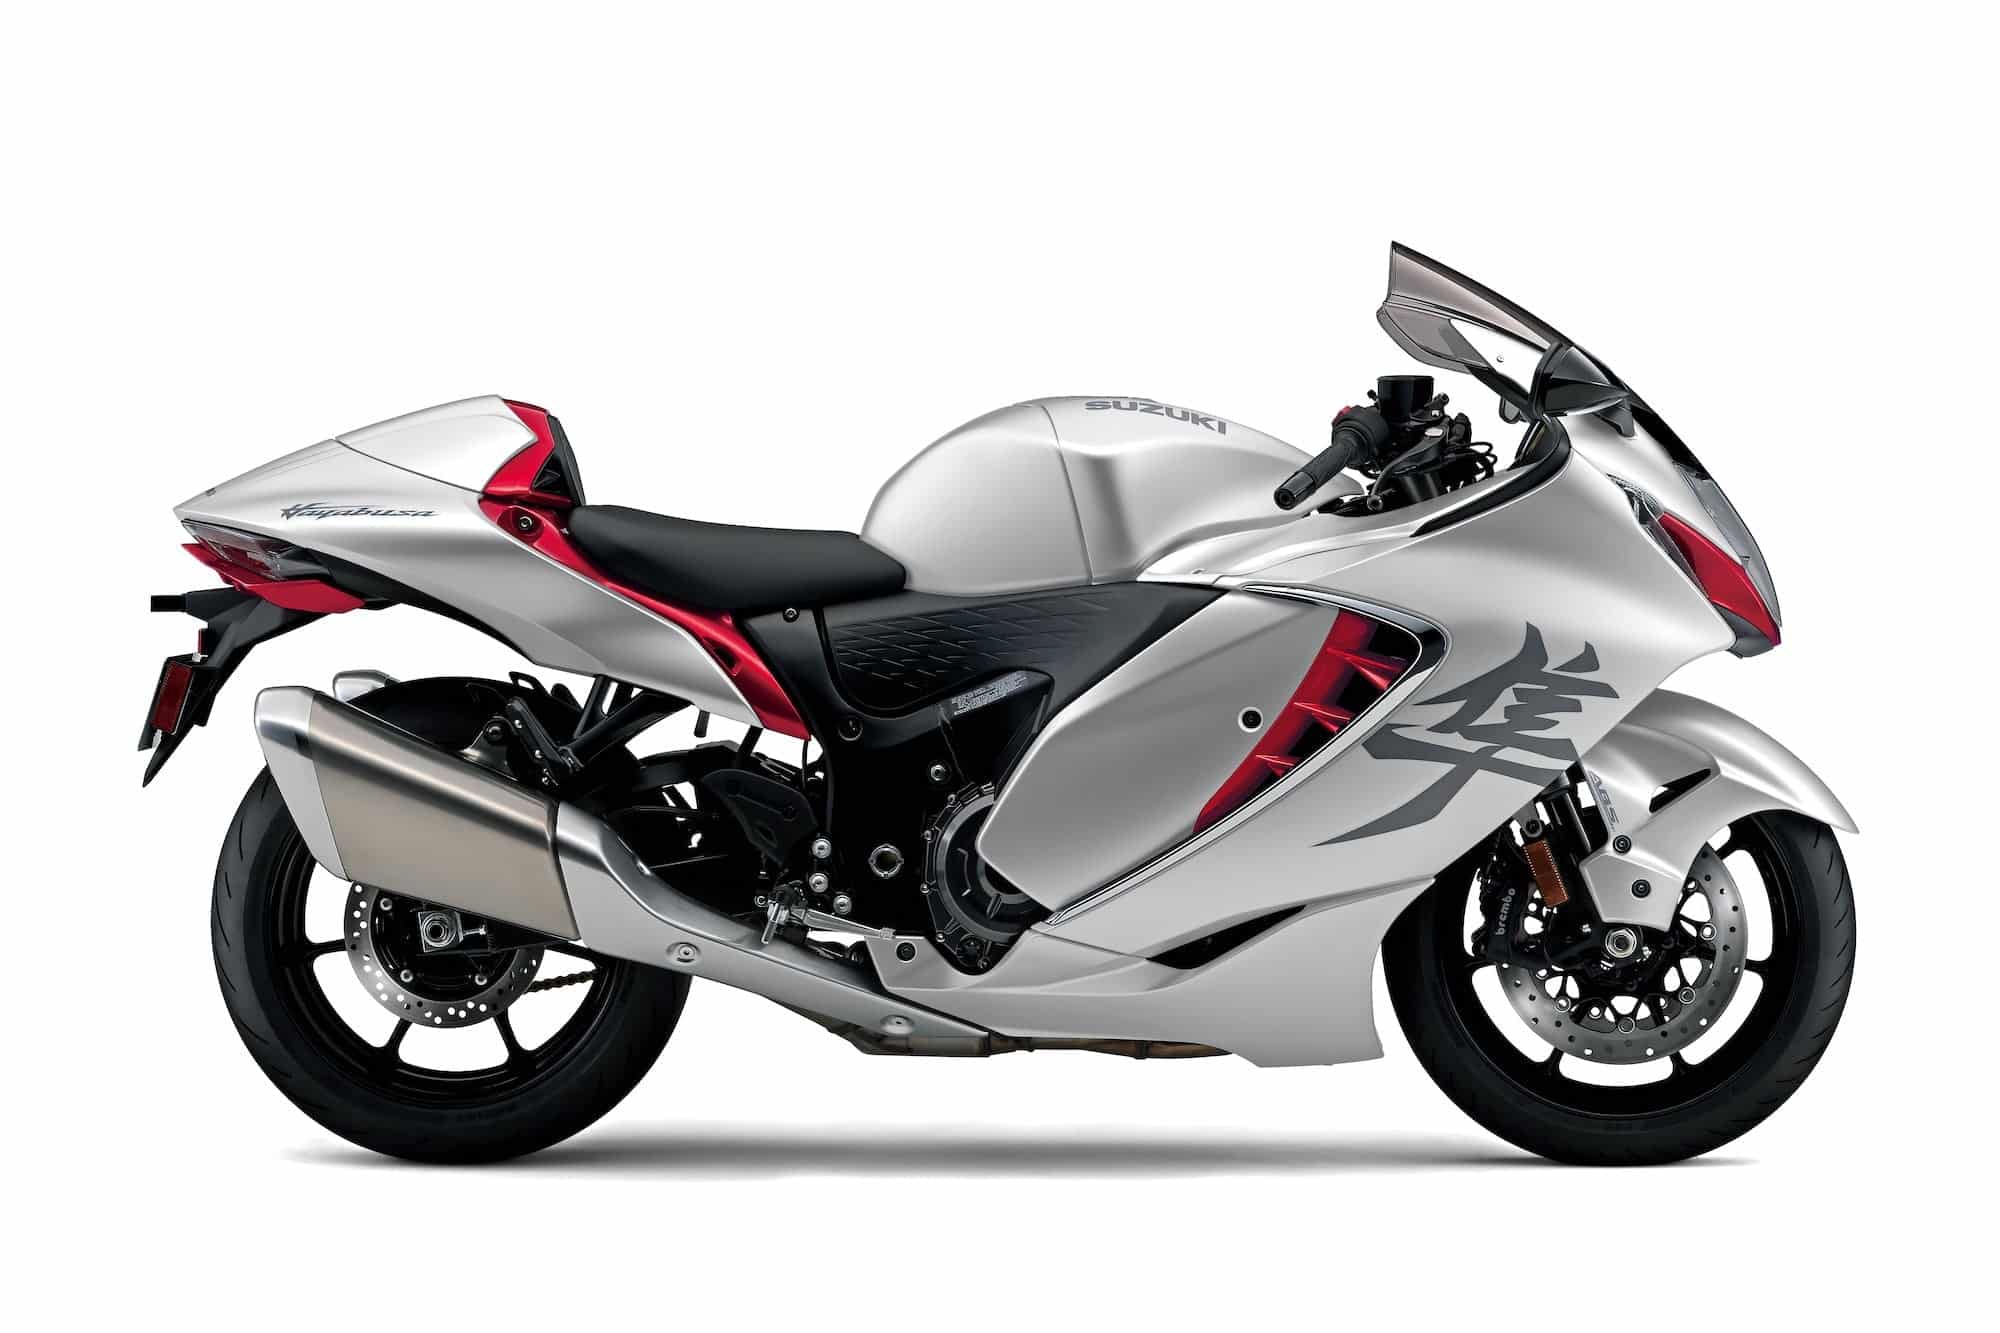
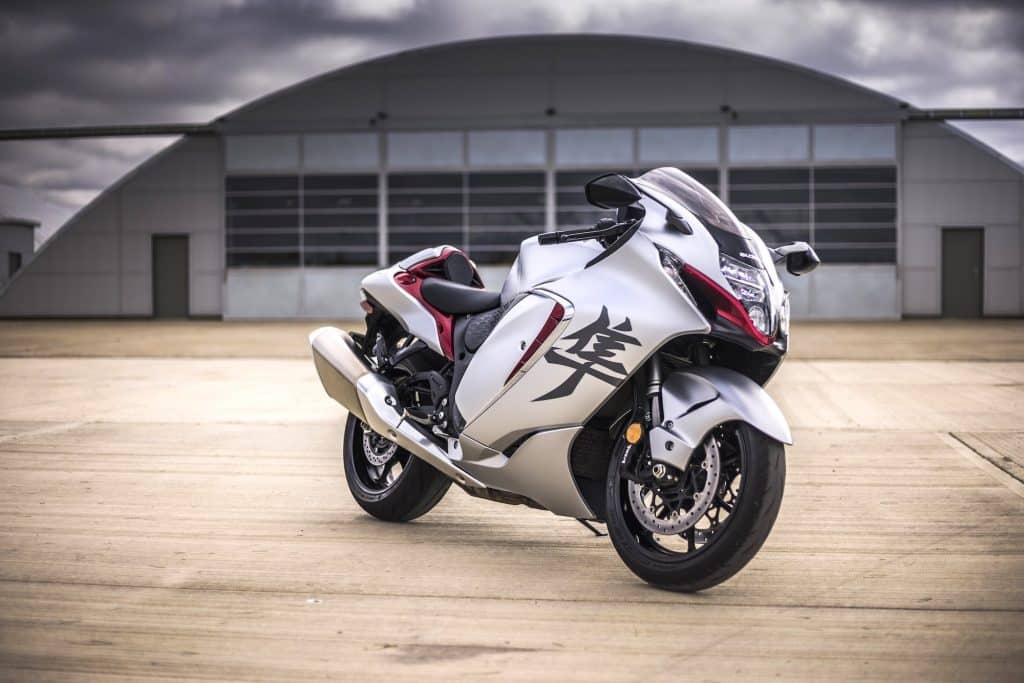
Suzuki GSX1300R Hayabusa Gen 3 (2021+) Maintenance Schedule and Service Intervals
This is the maintenance schedule and associated service intervals for the Suzuki Hayabusa Gen 3. It’s also known as the Suzuki GSX1300R, the Gen 3 ‘Busa, or sometimes the “Big Bird” to its loyal fans.
The 3rd gen Suzuki Hayabusa continues in the same vein as the original two models, with history back to 1999. The Hayabusa is still a big, high-power sport bike, with a focus on top-end speed and stability without sacrificing too much in the way of sporty handling.
The 3rd gen Hayabusa is a big technological improvement over the Suzuki Hayabusa Gen 2, which was made between 2008 and 2020 (with ABS and Brembo brakes from 2013), the Gen 3 gaining a redesigned chassis, intake/exhaust, engine tune, and a host of rider electronics including cornering ABS/traction control, cruise control, and even a speed limiter.
But the Gen 3 Hayabusa is still based around a 1340cc inline four-cylinder engine with dual overhead cams and four valves per cylinder.
Here are all the Suzuki GSX1300R Hayabusa maintenance guides:
- Gen 1 Suzuki GSX1300R Hayabusa (1999-2007, 1298 cc)
- Gen 2 Suzuki GSX1300R Hayabusa (2008-2020, 1340 cc, including 2013+ ABS0)
- Gen 3 Suzuki GSX1300R Hayabusa (2021+, 1340 cc, IMU / cruise QS)
Originally published Feb 22, 2022, but significantly updated since as more info has been released.
This site has links for things like oil and spark plugs from which we earn a commission (which unfortunately nobody can save, not even us). If you appreciate this work, then please use those links. Thanks!
Service Intervals for the Gen 3 Hayabusa
The Gen 3 Hayabusa has similar service intervals to the Gen 2, but Suzuki simplified the intervals slightly.
Basic service intervals for the Gen 3 Hayabusa are every 3750 miles or 6000 km, at which you do an oil change and general once-over of the vehicle. Change the spark plugs every two services.
The valve clearance interval is every four services, or 15000 miles / 24000 km.
Make sure you regularly service the chain of the Hayabusa, and keep the fluids (cooland and brake / clutch fluid) up to spec.
What you need to service your Suzuki Hayabusa Gen 3
Hayabusa owners are passionate motorcycle owners, and this includes owners of the Gen 3 Busa. Many do their own service and become experts at removing all those fairings!
Here is what you need to service your Suzuki Hayabusa Gen 3. Most are still within warranty, but it’s good to know for later (or if you don’t have a mechanic nearby).
| Part | Suzuki Hayabusa Gen 3 spec |
|---|---|
| Oil | Suzuki specifies engine oil with JASO MA spec, or at least API SF/SG or SH/SJ spec, e.g. Motul 7100 10W-40. |
| Oil filter | Use a Hiflofiltro HF138RC, which is a drop-in high-quality replacement that can be installed with a regular wrench. This is the same as for the Gen 2 (and many other Suzuki bikes). |
| Air filter | You can use a DNA high-performance air filter with part code P-S13S21-0R. |
| Spark plugs | The standard spark plug for the Gen 3 Busa is NGK CR9EIA-9 per the manual. |
| Brake fluid/Clutch fluid | The Hayabusa (like most motorcycles) requires DOT 4 brake and clutch fluid, e.g. Castrol DOT 4. |
| Front Brake pads | Many agree that EBC brake pads give better bite and less fade. The Gen 3 Hayabusa’s Brembo Stylema calipers take FA447HH pads. |
| Rear brake pads | Get the corresponding rear brake pads FA419HH. |
| Coolant | Suzuki only requires a coolant that’s “compatible with an aluminium radiator”, preferring “Suzuki Super Long Life Coolant“. A good alternative is Motorex M3.0. |
| Chain maintenance | Use either Motul chain paste or a complete Motul chain care kit for frequent chain servicing. |
| Grease | Always handy to have some lithium soap-based grease for external pivot points, like the kickstand. |
Suzuki Hayabusa Gen 3 Break In
Per the manual, the break-in service for the Gen 3 Hayabusa comes after 600 miles / 1000 km. Suzuki stresses that this is the most critical service, as during break in, all the components of the engine will have mated together and seated. The first maintenance includes replacing the dirty oil, tightening all the fasteners, and correcting all initial adjustments.
During the break-in period for the Gen 3 Hayabusa, you should:
- Keep the engine below 5500 rpm initially — up to 500 mi / 800 km. Between 500 and 1000 mi (800 and 1600 km), i.e. through the break-in service, you can go up to 8000 rpm.
- Avoid needless idling, sudden acceleration or deceleration, abrupt steering changes, or sudden braking
- Vary the engine speed: Move it around below the operating limit. This allows the parts to “load” (aiding the mating process) and then “unload” (allowing the parts to cool. But be careful not to load the engine too much.
The actual break-in checklist is as follows:
| Suzuki Hayabusa Gen 3 Break-in service |
|---|
| Engine oil — Change |
| Oil filter — Change |
| Throttle cable play — Check and adjust Target play: 2-4mm / 0.08-0.16 in |
| Drive chain — Inspect condition and tension, adjusting as necessary, |
| Throttle valves — Sync |
| Brakes — Inspect |
| Steering — Inpsect |
| Chassis bolts and nuts — Tighten up |
| Lubrication — Generally lubricate everything |
Generally a workshop will specify 1-2 hours for this initial maintenance. You may also negotiate to have it included in the purchase price (depending on supply/demand and market conditions).
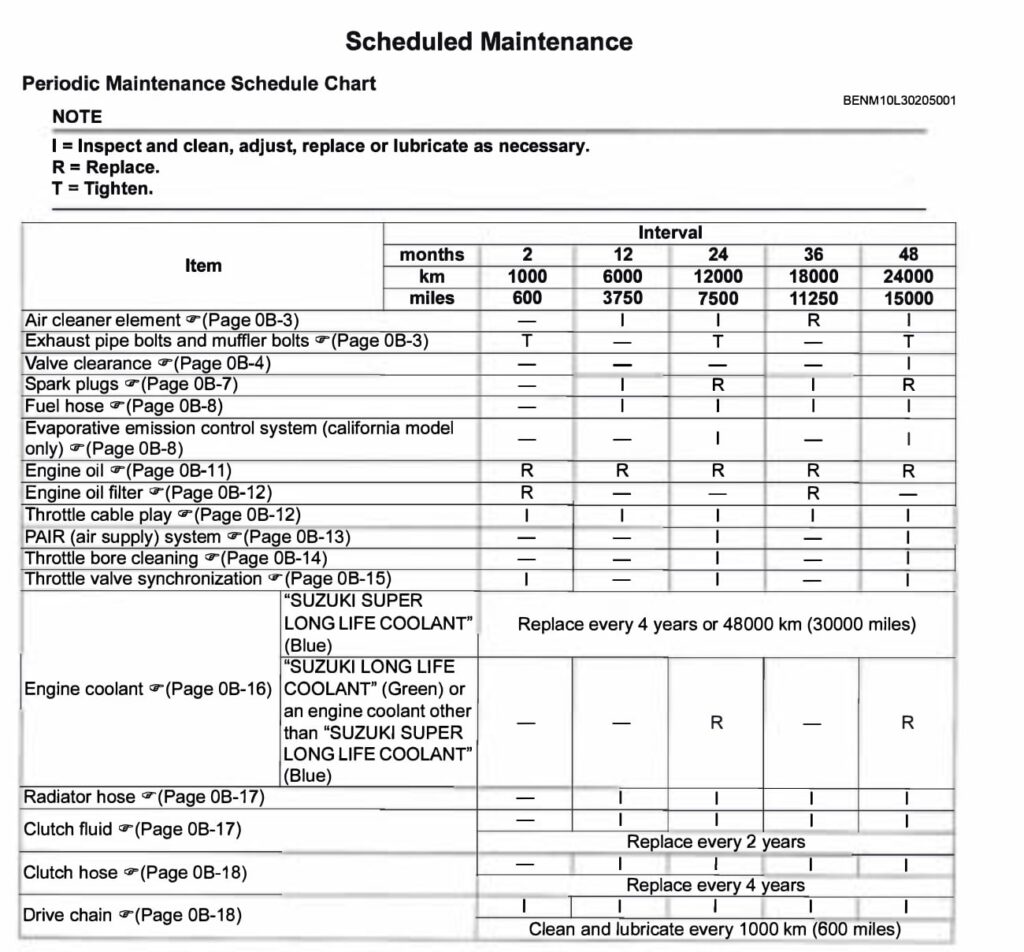
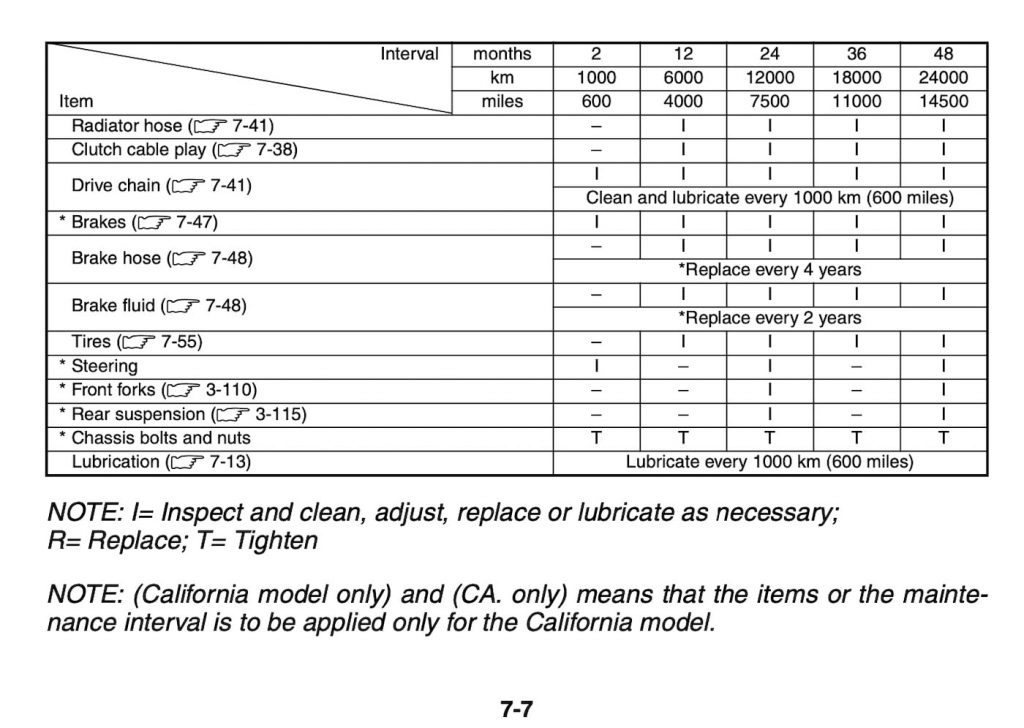
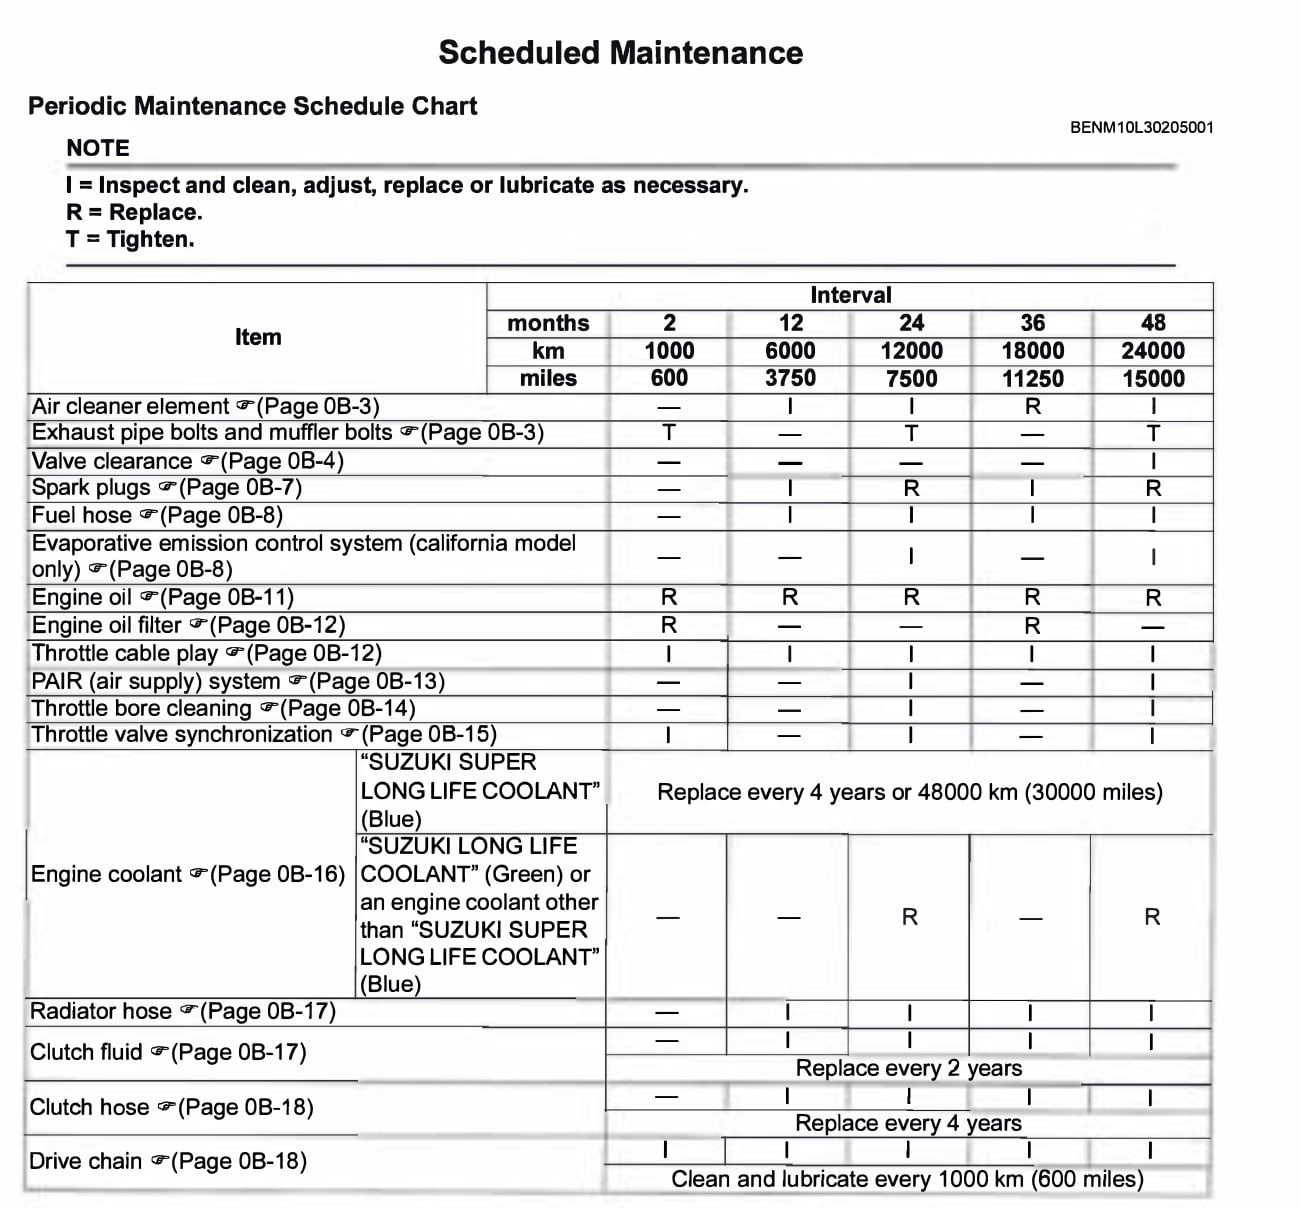
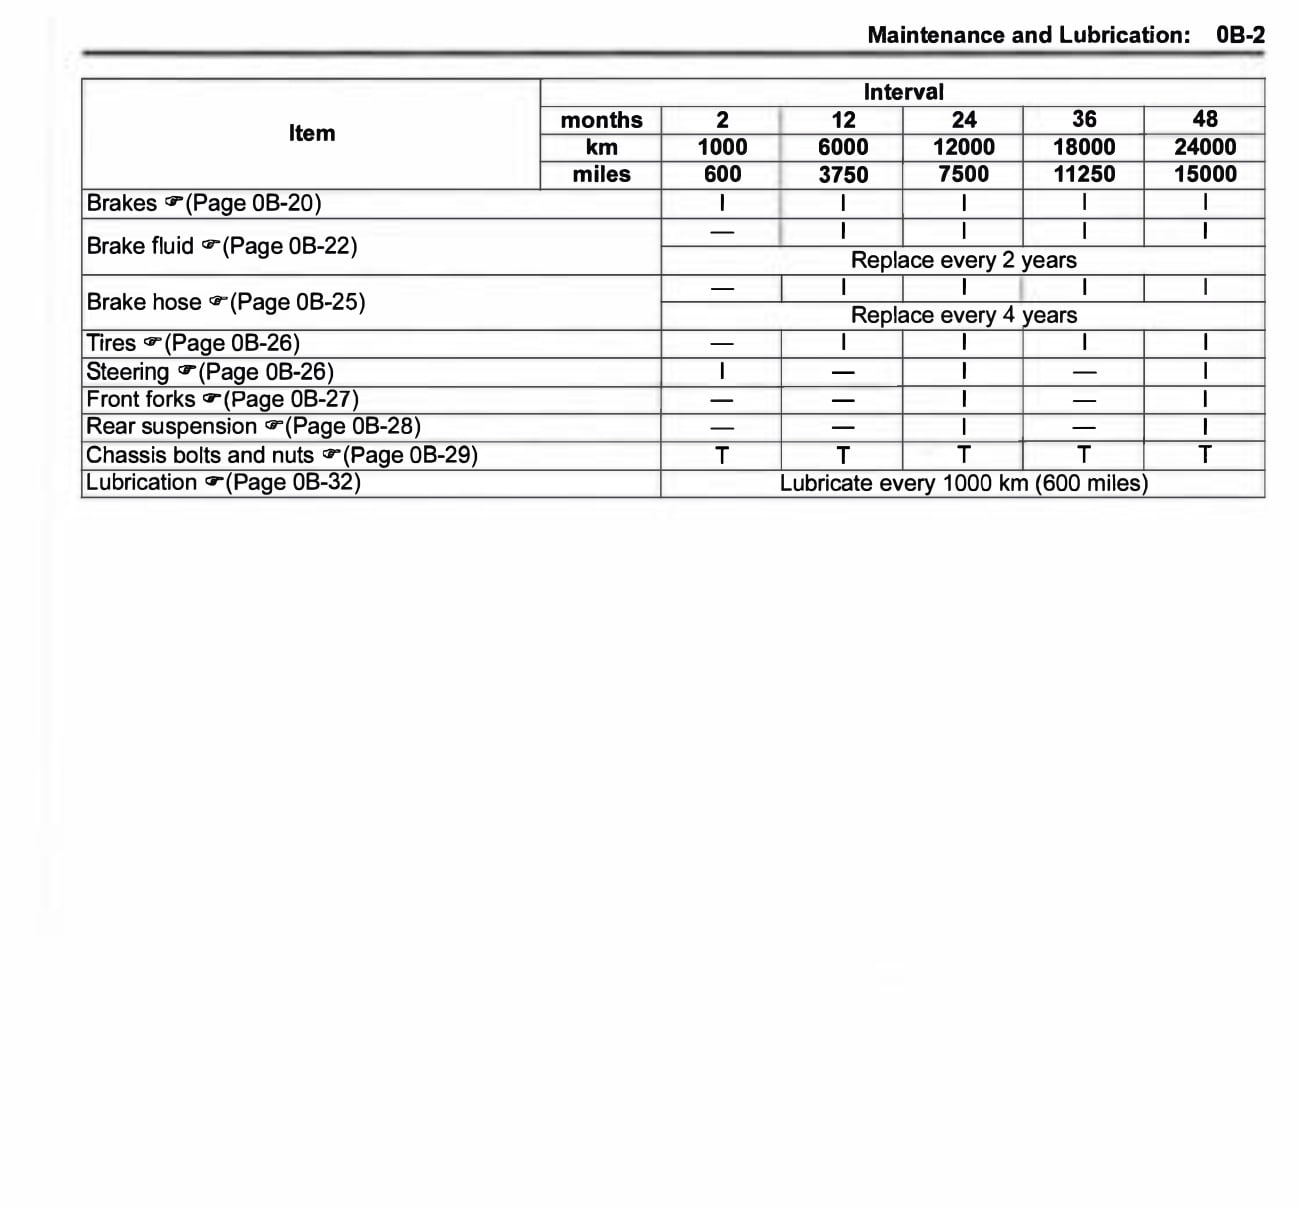
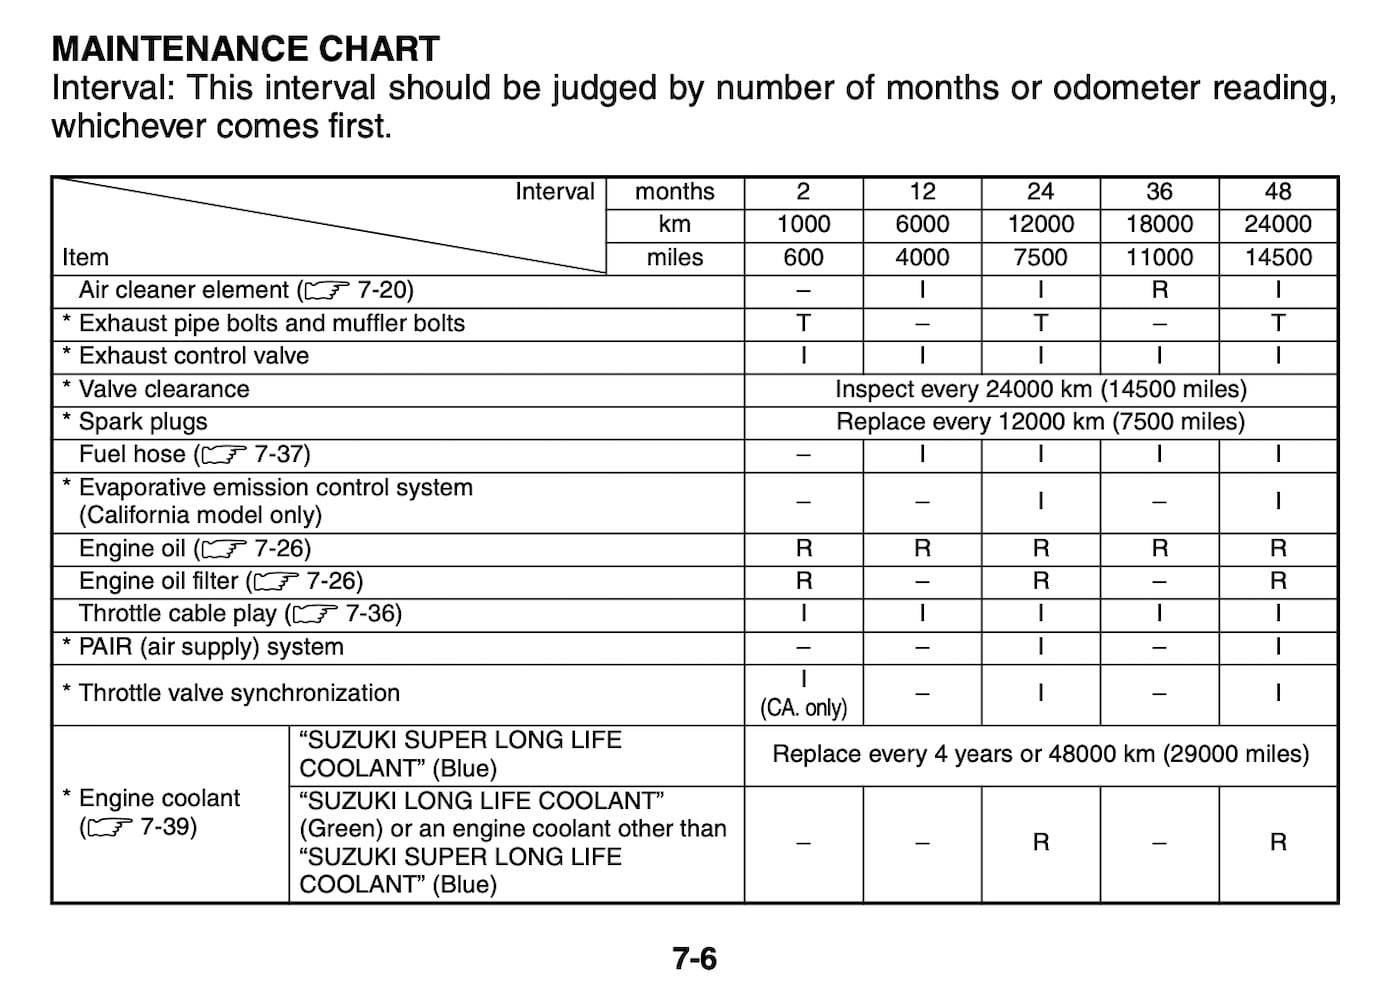
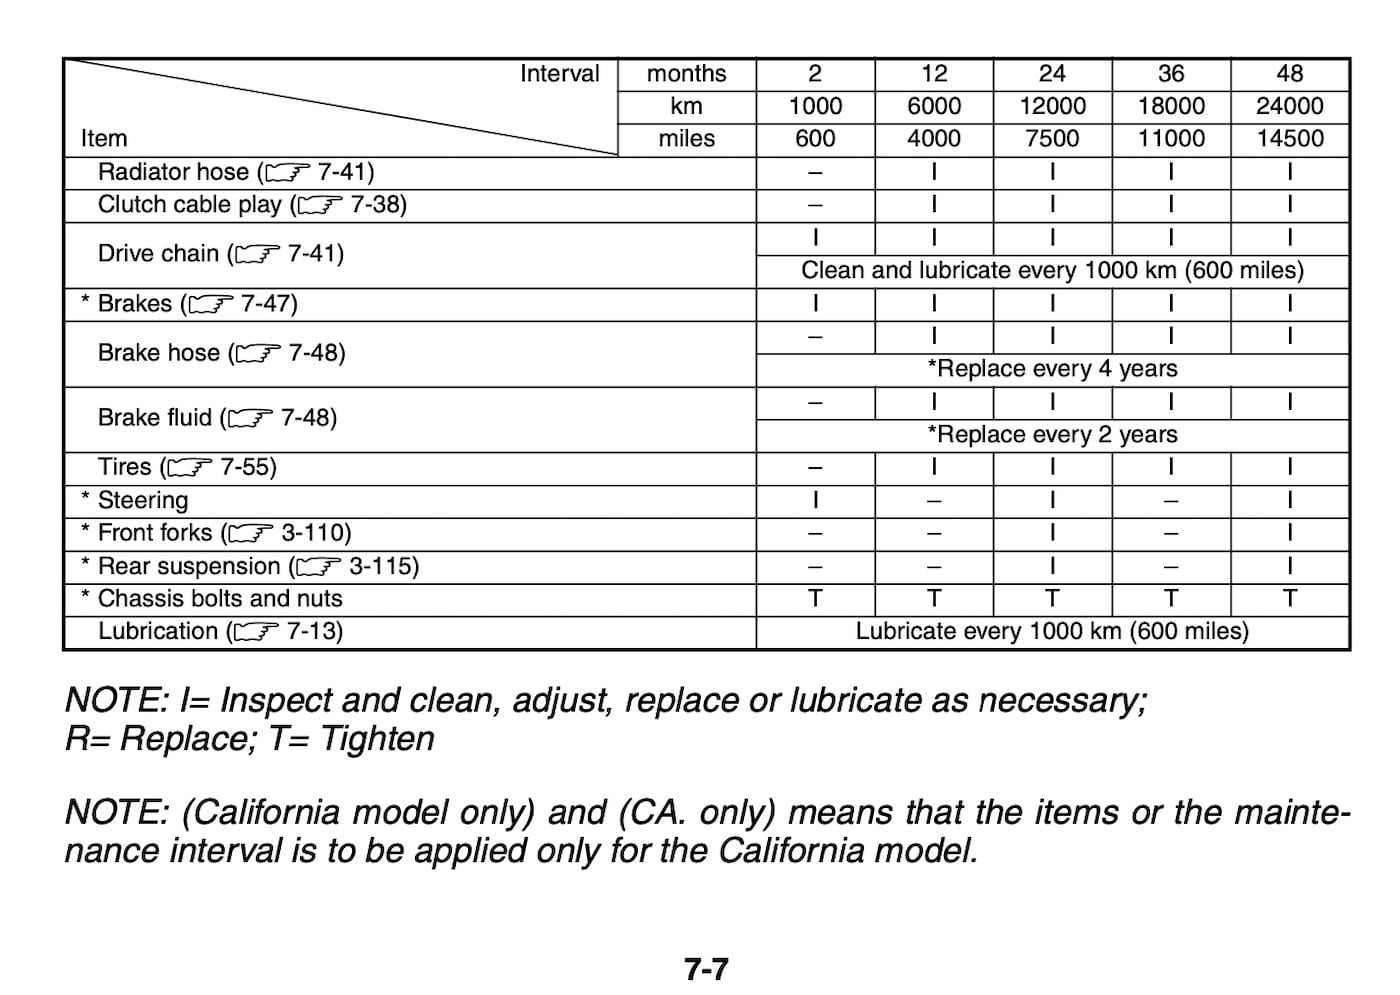
Suzuki Hayabusa Gen 3 (2021+) Maintenance Schedule
Below is the maintenance schedule for the Suzuki Hayabusa Gen 3 (2021+).
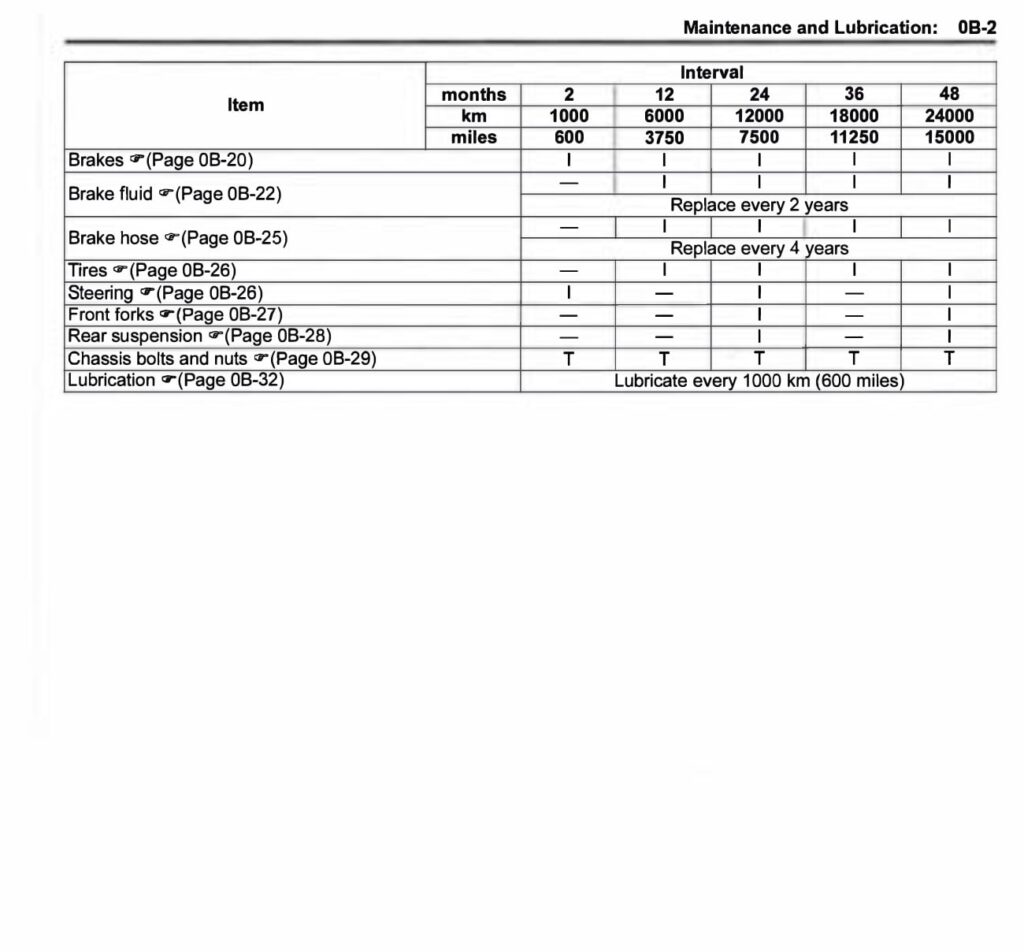
This maintenance schedule comes from the Suzuki Hayabusa Gen 3’s manual, which is available from 2022.
The manual suggests you inspect the fuel hoses, and replace coolant on a different schedule depending on what kind you have (blue vs green).
Notes:
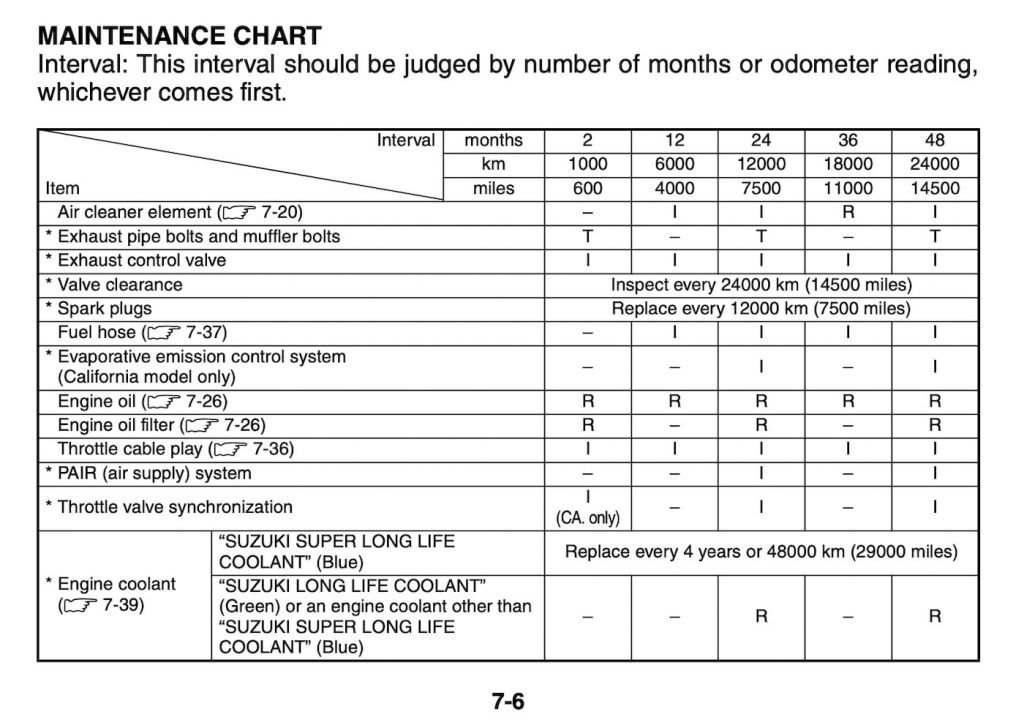
- The service interval should be judged by number of months or odometer reading, whichever comes first.
- At the end of the service schedule (beyond 14500 miles or 24000 km), follow the schedule in the pattern shown, every 1-4 service intervals.
- The break-in schedule is omitted. It is essentially an oil/filter change and a check for leaks and torques.
- I= Inspect and clean, adjust, replace or lubricate as necessary.
- R= Replace
- T= Tighten
| Months | 12 | 24 | 36 | 48 | |
|---|---|---|---|---|---|
| Km 1000 | 6 | 12 | 18 | 24 | |
| Mi x 1000 | 3.75 | 7.5 | 11.25 | 15 | Every |
| Engine oil (Motul 7100 10W-40). Tighten oil drain plug to 23 Nm / 17 ft-lb | R | R | R | R | |
| Engine oil filter (HF138RC) Tighten to 20 Nm / 15 ft-lb | – | – | R | – | |
| Air filter (P-S13S21-0R) | I | I | R | I | More often if ridden in dusty conditions |
| Spark plugs (CR9EIA-9) Tighten to 11 Nm / 8.5 ft-lb | I | R | I | R | |
| Valve clearances | – | – | – | I | |
| Coolant (Super long-life engine coolant e.g. Motorex M3.0) – Replace more often if using Suzuki green coolant, or another non-super long life coolant | Replace every 4 years or 48,000 km (29,000 miles) | ||||
| Exhaust pipe bolts and muffler bolts (see below for torque values) | – | T | – | T | |
| Fuel hoses | I | I | I | I | |
| Throttle cable play Target play: 2-4mm / 0.08-0.16 in | I | I | I | I | |
| Throttle bore cleaning | – | I | – | I | |
| Throttle valve synchronization | – | I | – | I | |
| Evaporative emission control system (California model only) | – | I | – | I | |
| PAIR (air supply) system | – | I | – | I | |
| Radiator hose | I | I | I | I | |
| Clutch fluid (Castrol DOT 4) | I | I | I | I | Replace every 2 years |
| Brake fluid (Castrol DOT 4) | I | I | I | I | Replace every 2 years |
| Clutch hose (check for leaks/wear) | I | I | I | I | Replace every 4 years |
| Brake hoses (check for leaks/wear) | I | I | I | I | Replace every 4 years |
| Brakes pads (FA447HH, FA419HH) | I | I | I | I | |
| Tires (see below for spec) | I | I | I | I | |
| Steering | – | I | – | I | |
| Front forks (check for leaks) | – | I | – | I | |
| Rear suspension (check for leaks) | – | I | – | I | |
| General lubrication (of other moving parts) – Clutch lever – Gearshift lever – Side stand pivot / spring hook – Footrest pivot – Brake lever – Brake pedal – Pillion foot rests | L | L | L | L | Every 600 mi / 1000 km or as necessary |
| Chassis bolts and nuts torque (see below) | T | T | T | T |
Maintaining your Chain on your Suzuki Hayabusa Gen 3
The Hayabusa is a high-powered motorcycle and always puts its drivetrain (gearbox, chain, wheels, tires) under pressure. Needless to say, it’s important to maintain the chain to make sure it’s in good condition.
Either use a good-quality (and affordable) chain lube like Motul Chain Paste, or use a full on Motul Chain Care Kit to clean and restore a chain.
Suzuki recommends that you maintain your chain regularly according to the following schedule.
| Chain maintenance item | Every |
|---|---|
| Check chain * Correct tension / slack (20-30mm / 0.8-1.2 in at loosest point) * Adequate lubrication * No excessive wear / damage | Ride (pre-ride check) |
| Clean and lubricate chain | 1000 km / 600 miles or 6 months |
Damage to the chain includes loose pins, damaged rollers, dry or rusted links, kinked or binding links, missing seal plugs, excessive wear, and improper adjustment.
Checks to do (per the service manual)
- Drive chain length: With tension on the chain so that it’s straight, count out 21 pins (20 pitches) and measure the distance between the two points. The distance must be less than 319.4 mm or 12.57 inches.
- Drive chain slack: On the side stand, standard slack must be between 20-30 mm (0.79-1.18 in)
To adjust chain slack:
- Loosen the axle nut and the lock nuts for the chain adjustment bolts.
- Turn the adjuster bolts until the chain has the correct slack. Turn them the same amount the same time, watching for alignment — check the alignment marks (see image).
- If you meet the end of the adjustable range, your chain is too worn and it must be replaced
- Re-tighten the axle bolts (100 Nm / 73 lb-ft) and secure the lock nuts (22 Nm / 17 lb-ft).
Gen 3 Hayabusa Torque Values
Below are torque values used both for maintenance and lubrication, as well as for general tightening. There’s some overlap between the lists but not much. These are from the service manual.
Maintenance and Lubrication
Below are the torque values for maintenance and lubrication of the Gen 3 Hayabusa, for when changing filters and fluids.
| Unit | Nm | kgf-m | lb-ft |
|---|---|---|---|
| Air cleaner element screw | 1.2 | 0.12 | 0.9 |
| Exhaust pipe bolt | 23 | 2.3 | 17 |
| Exhaust pipe support bolt | 23 | 2.3 | 17 |
| Muffler connector bolt | 18 | 1.8 | 13.5 |
| Muffler support bolt | 30 | 3.1 | 22.5 |
| Spark plug | 11 | 1.1 | 8.5 |
| Oil drain plug | 23 | 2.3 | 17 |
| Oil filter | 20 | 2 | 15 |
| Thermostat cover air bolt | 6 | 0.61 | 4.45 |
| Rear brake master cylinder rod lock-nut | 18 | 1.8 | 13.5 |
| Rear master cylinder reservoir cap screw | 1.5 | 0.15 | 1.1 |
| Rear brake master cylinder reservoir tank bracket bolt | 10 | 1 | 7.5 |
Chassis Bolts and Nuts
Below are all the torque values for the chassis bolts and nuts. Check the tightness of these at every service.
| Part | Nm | Kg-m | lb-ft |
|---|---|---|---|
| Rear shock absorber upper mounting nut | 50 | 5.1 | 37 |
| Brake pipe flare nut | 15 | 1.5 | 11 |
| Rear shock absorber lower mounting nut | 50 | 5.1 | 37 |
| Front axle nut | 100 | 10.2 | 74 |
| Front axle stopper bolt | 23 | 2.3 | 17 |
| Brake hose union bolt | 23 | 2.3 | 17 |
| Front brake disc bolt | 23 | 2.3 | 17 |
| Front brake caliper mounting bolt | 39 | 4 | 29 |
| Front brake caliper air bleeder valve | 8.5 | 0.87 | 6.3 |
| Rear brake master cylinder mounting bolt | 10 | 1 | 7.5 |
| Rear brake disc bolt | 35 | 3.6 | 26 |
| Rear brake caliper air bleeder valve | 8 | 0.82 | 5.9 |
| Rear axle nut | 100 | 10.2 | 74 |
| Chain adjuster lock nut | 22 | 2.2 | 16.5 |
| Steering stem top nut | 90 | 9.2 | 66.5 |
| Steering stem lock nut | 80 | 8.2 | 59 |
| Front fork upper clamp bolt | 23 | 2.3 | 17 |
| Front fork lower clamp bolt | 23 | 2.3 | 17 |
| Front brake master cylinder mounting bolt | 10 | 1 | 7.5 |
| Brake hose union bolt | 23 | 2.3 | 17 |
| Clutch master cylinder mounting bolt | 10 | 1 | 7.5 |
| Clutch hose union bolt | 23 | 2.3 | 17 |
| Swingarm pivot nut | 100 | 10.2 | 74 |
| Front footrest bracket bolt | 26 | 2.7 | 19.5 |
| Cushion lever mounting bolt | 78 | 8 | 57.5 |
| Cushion rod mounting bolt | 78 | 8 | 57.5 |
| Seat rail mounting bolt | 50 | 5.1 | 37 |
Tire size and tyre pressure for the Suzuki Hayabusa Gen 3
The following tire size and pressures are specified in the manual. The stock tyres are Bridgestone Battlax Hypersport S22 tires, which are high-perforamnce sport units that few would fault for general purpose use.
Of course, use whatever tires you prefer adjust pressure as suits your riding style.
| Tyre | Size | Tyre pressure (cold) |
|---|---|---|
| Front | 120/70 ZR17 58W | 250 kPa / 2.50 bar, 36 psi |
| Rear | 190/50ZR17 73W | 290 kPa / 2.90 bar / 42 psi |
These are the pressures in the manual. For single-person, sporty riding, many Hayabusa riders prefer lower pressure in the back tyre — an even pressure of 250 kPa or 36 psi is common.
About the Suzuki Hayabusa Gen 3 (2021+)
The Suzuki GSX1300R Hayabusa is a hypersport motorcycle series made by Suzuki since 1999.
When Suzuki released the first Hayabusa, it took the motorcycling world by storm. It was announced as the fastest production motorcycle, and testing proved this — it quickly took the crown from the Honda CBR1100XX Super Blackbird, which was had briefly held the title.
Since then, the Hayabusa (and its descendants) have been known as high-speed motorcycles, that are supposedly speed-limited to 300 km/h but which frequently are derestricted to exceed this absurdly high limit.
But the Hayabusa is much more than a high-speed machine. It’s a comfortably heavy sportbike that you sit in rather than on, a capable tourer, and a decent handler considering its extra weight over a literbike such as the Suzuki GSX-R1000.
So besides its speed, the Hayabusa is well loved for its all-round performance. It has a very loyal community of followers who love it for its handling, comfort, style, reliability, and all-round prowess.
What’s unique about the Suzuki Hayabusa’s big engine is that while it’s relentless up top, it’s very easy to manage down low — even at around-town or parking lot speeds. This was true of the Gen 2, and it’s even more true with the Gen 3 — an experience of even more smoothness.
As with the Gen 2, the engine powering the Gen 3 Suzuki Hayabusa is a 1340cc liquid-cooled dual overhead-cam block. Controversially, on paper it makes slightly less peak power than the Gen 2s motor, with of 140 kW (187 hp) at 9500 rpm — a drop of 7 kW (10 hp).
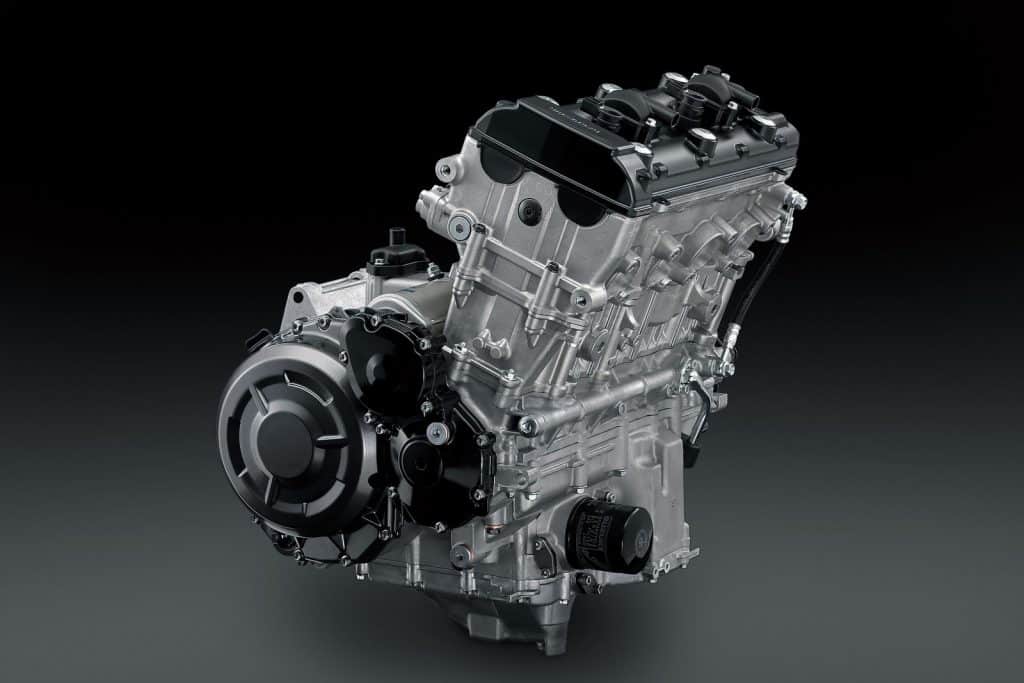
But in testing, the Gen 3 often beats the stock Gen 2 on a quarter miles because of the way the Gen 3 makes power, with a much meatier midrange, and because of the rider aids in getting power to the ground, including traction control and wheelie control, courtesy of the six-axis IMU that also gives the bike cornering ABS.
Of course, peak power and stock performance are somewhat meaningless as most Hayabusa owners modify their bikes, and the same is true of the Gen 3. There are already a host of aftermarket options available for exhausts and tunes, many of which can take the big birds to 200 hp at the wheel with relative ease.
The suspension on the Gen 3 Hayabusa is by KYB. It’s top grade, with fully adjustable (preload, compression damping, and rebound damping) units front and rear. The fork on the Gen 3 have diamond-like coating (DLC) for more durability as well as responsiveness. The internals of the rear KYB shock have also been revised since the gen 2.
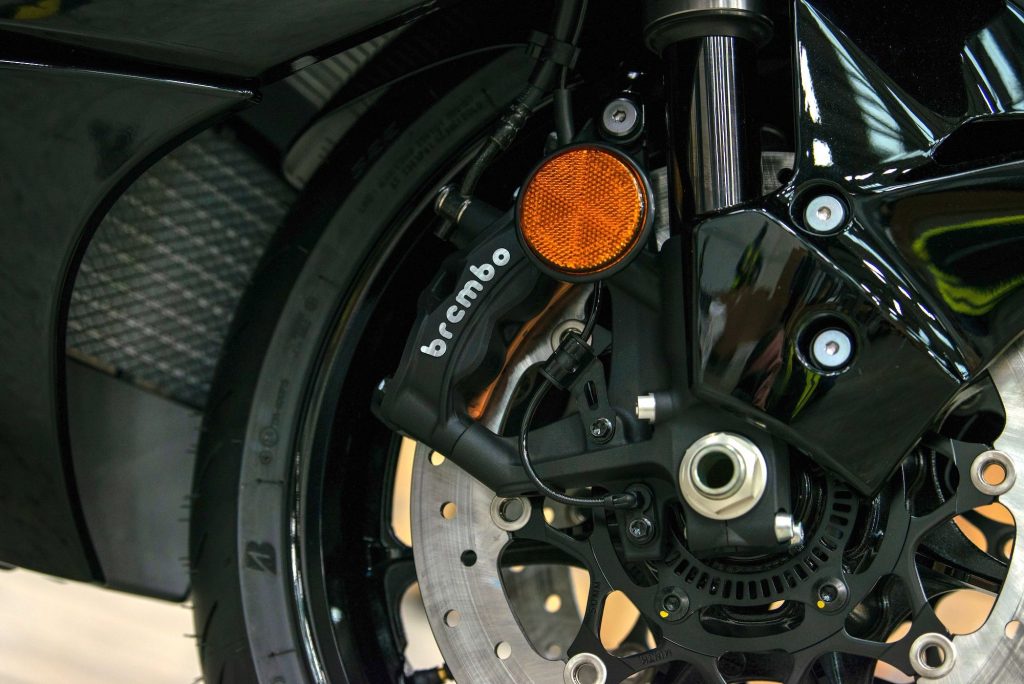
The braking is also impressive, with Brembo monoblock calipers up front. On the Gen 2 they were Brembo 4-piston units, and on the Gen 3 they’re Brembo Stylema calipers — skipping the intermediary generation of Brembo M50s. Suzuki also increased the brake disc diameter from 310 to 320mm.
The Suzuki Hayabusa Gen 3 is still not a lightweight motorcycle. It weighs 264 kg wet — roughly a full third more than most liter-class superbikes that make more power these days. So clearly, if you’re looking for the ultimate in power-to-weight, then you should be looking at an L7 Suzuki GSX-R1000.
Manual for the Suzuki Hayabusa Gen 3 (2021+)
The maintenance schedule comes from the service manual of the Suzuki Hayabusa Gen 3.
It’s quite similar to the maintenance schedule for other modern 4-cylinder sport bikes from Suzuki, but there are a few differences.
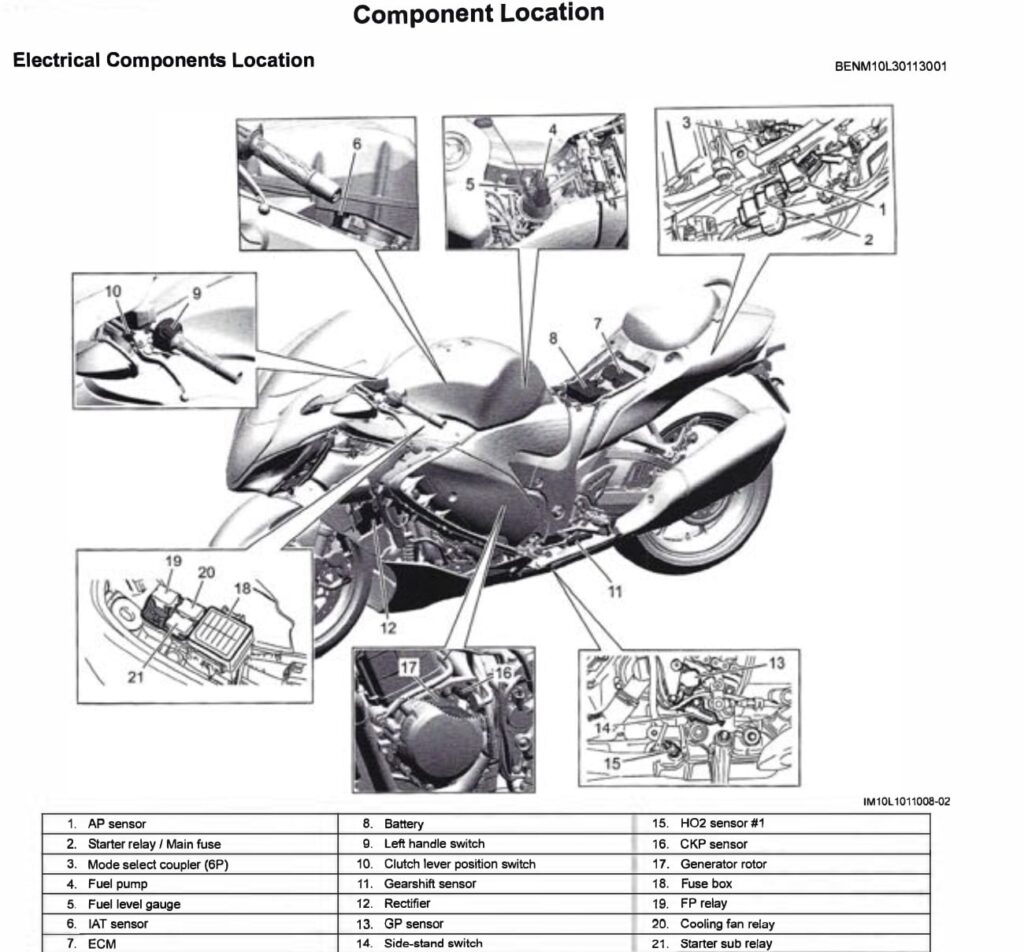
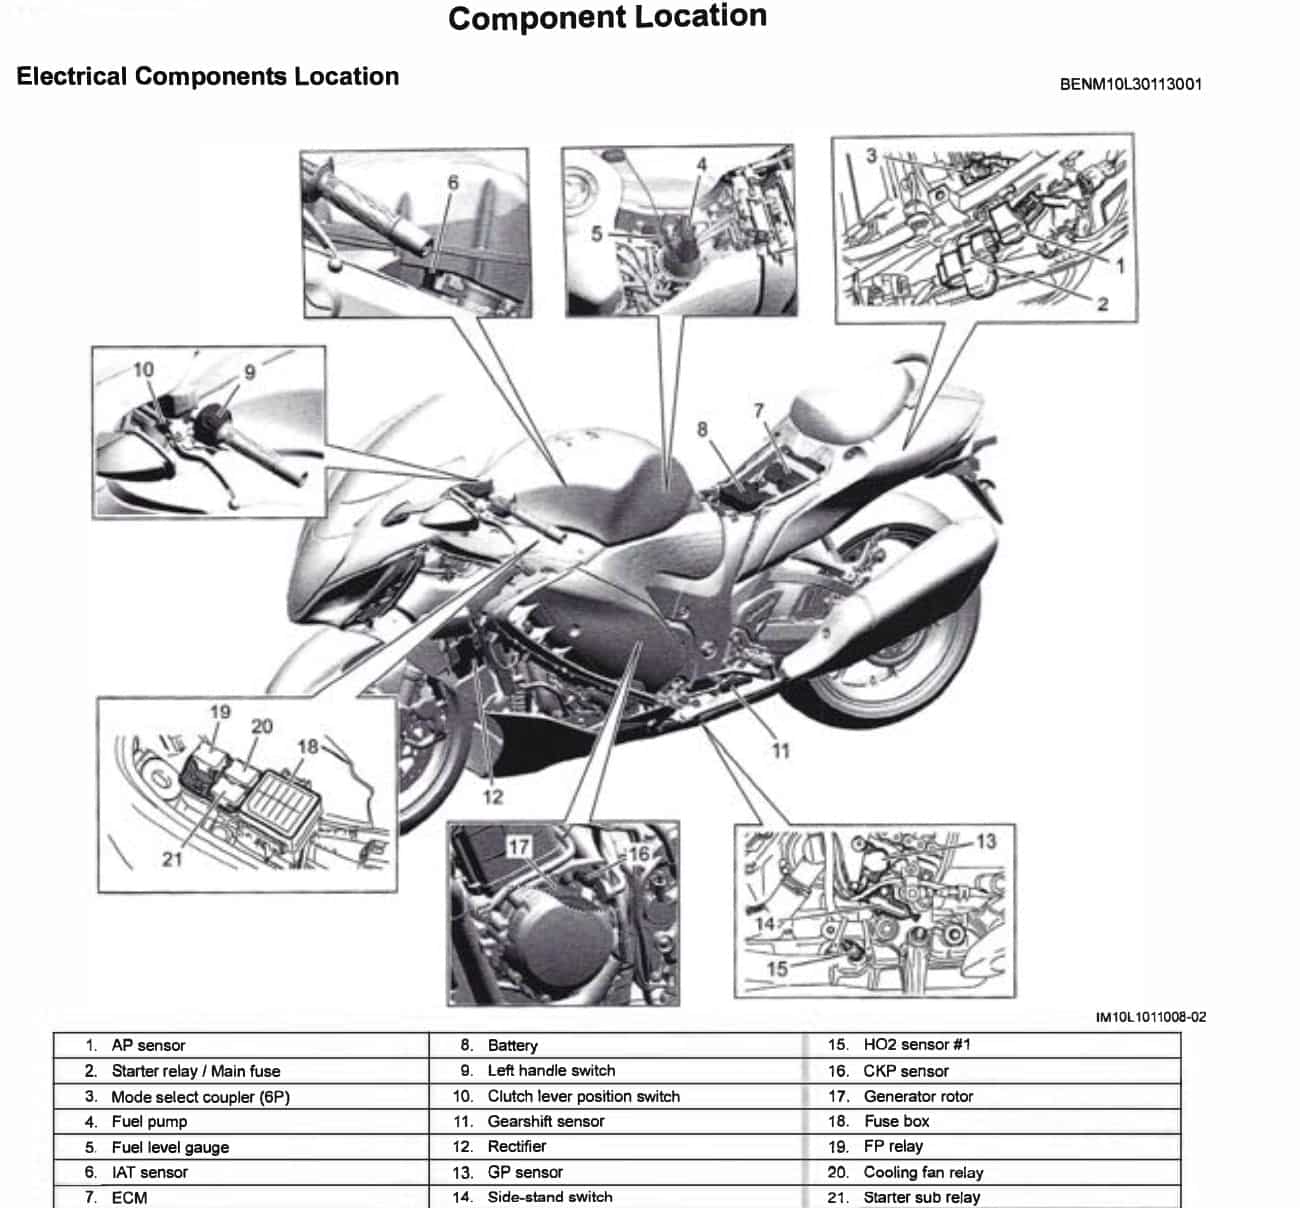
See some screenshots from the Gen 3 Busa’s manual below for reference.
You can download service manuals for the Suzuki motorcycle range from here.
