Suzuki DR650SE (1996+) Maintenance Schedule and Service Intervals (UPDATED)
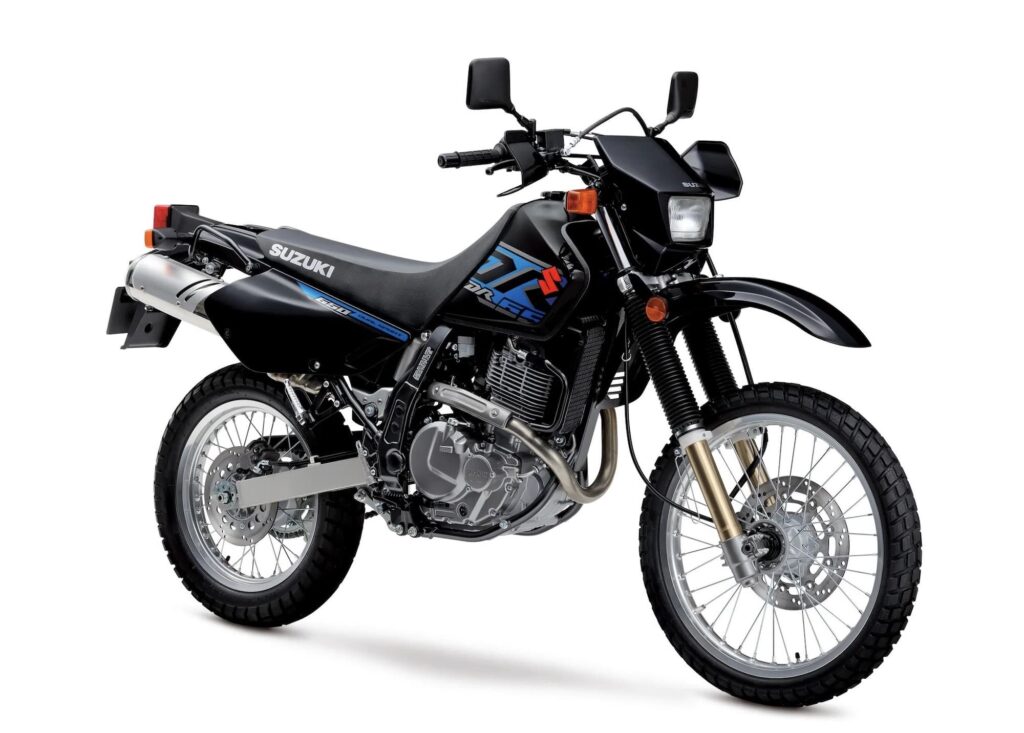
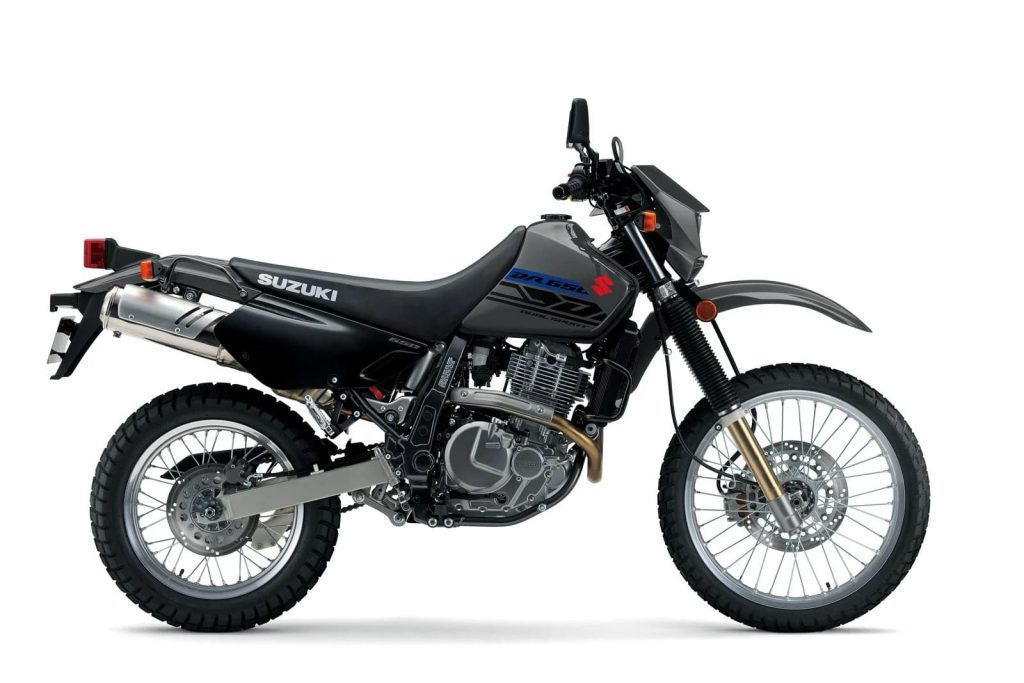
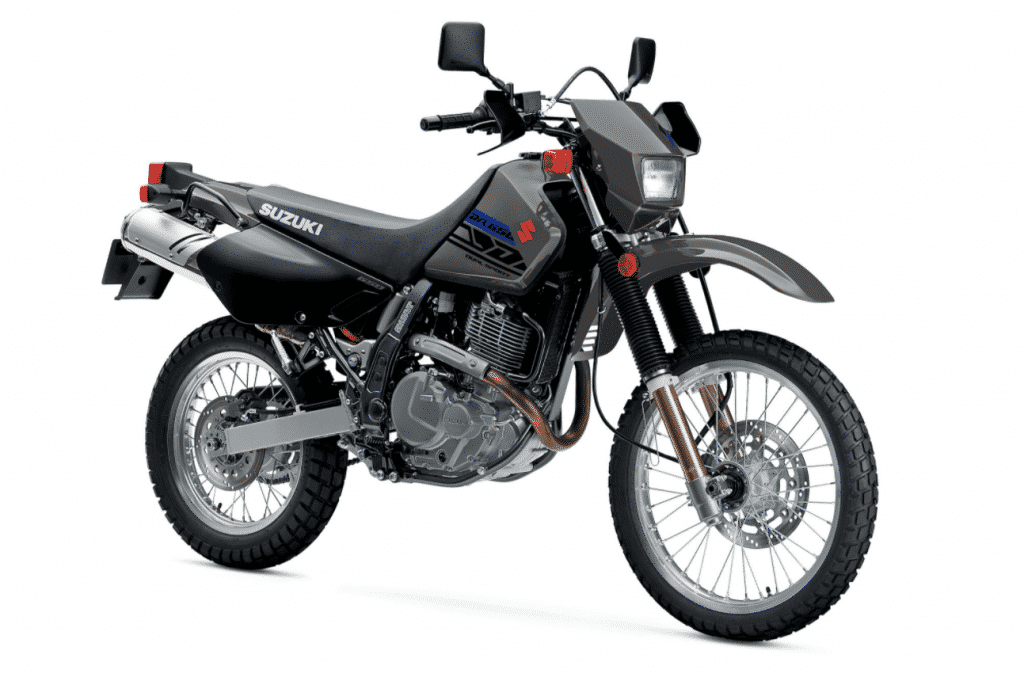
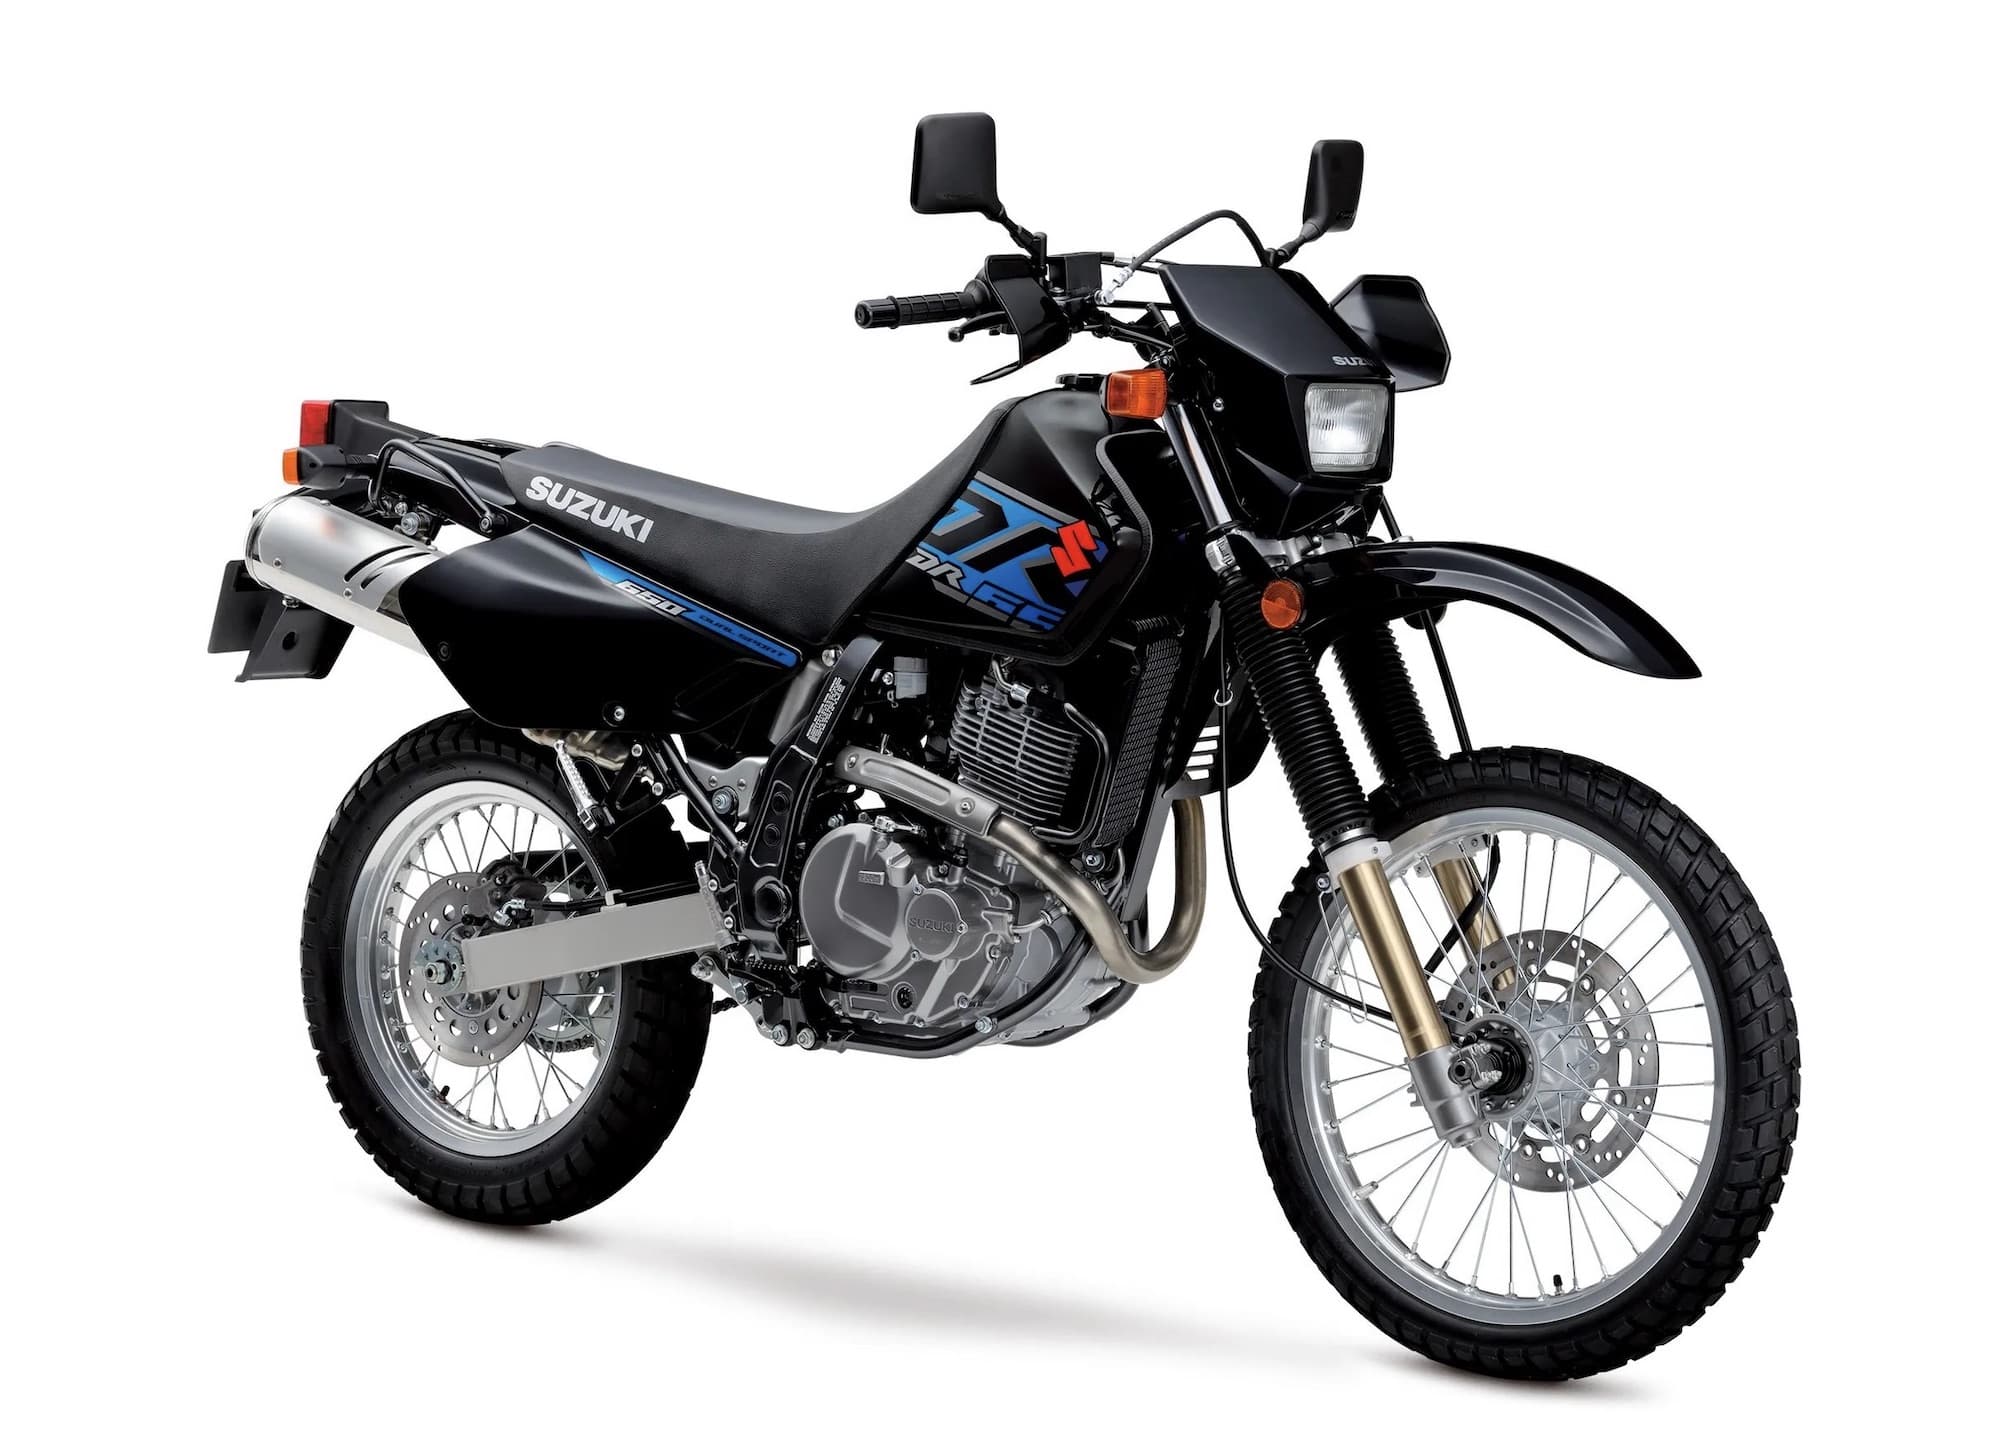
This is the maintenance schedule and associated service intervals for the Suzuki DR650SE, which people more often call the DR650S or just DR650 (which is what we’ll call it here).
This document has been significantly updated since first published in 2021 with a lot more detail, with the aim of making it a good resource to help you service your DR.
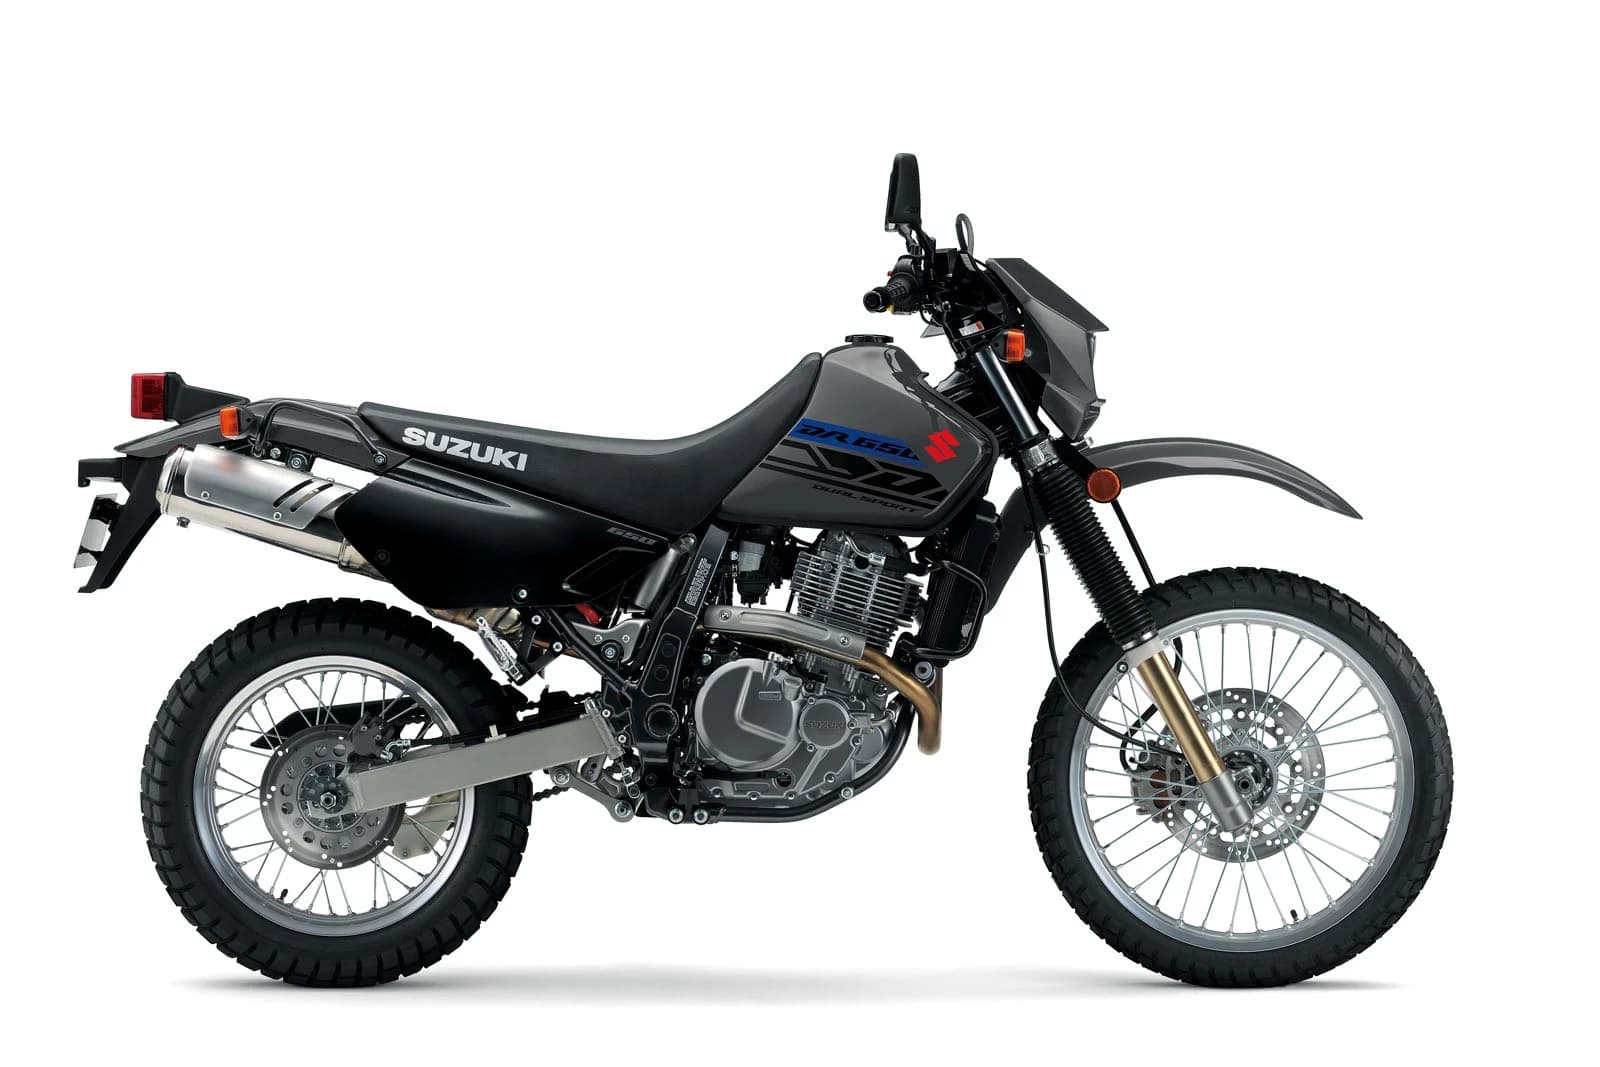
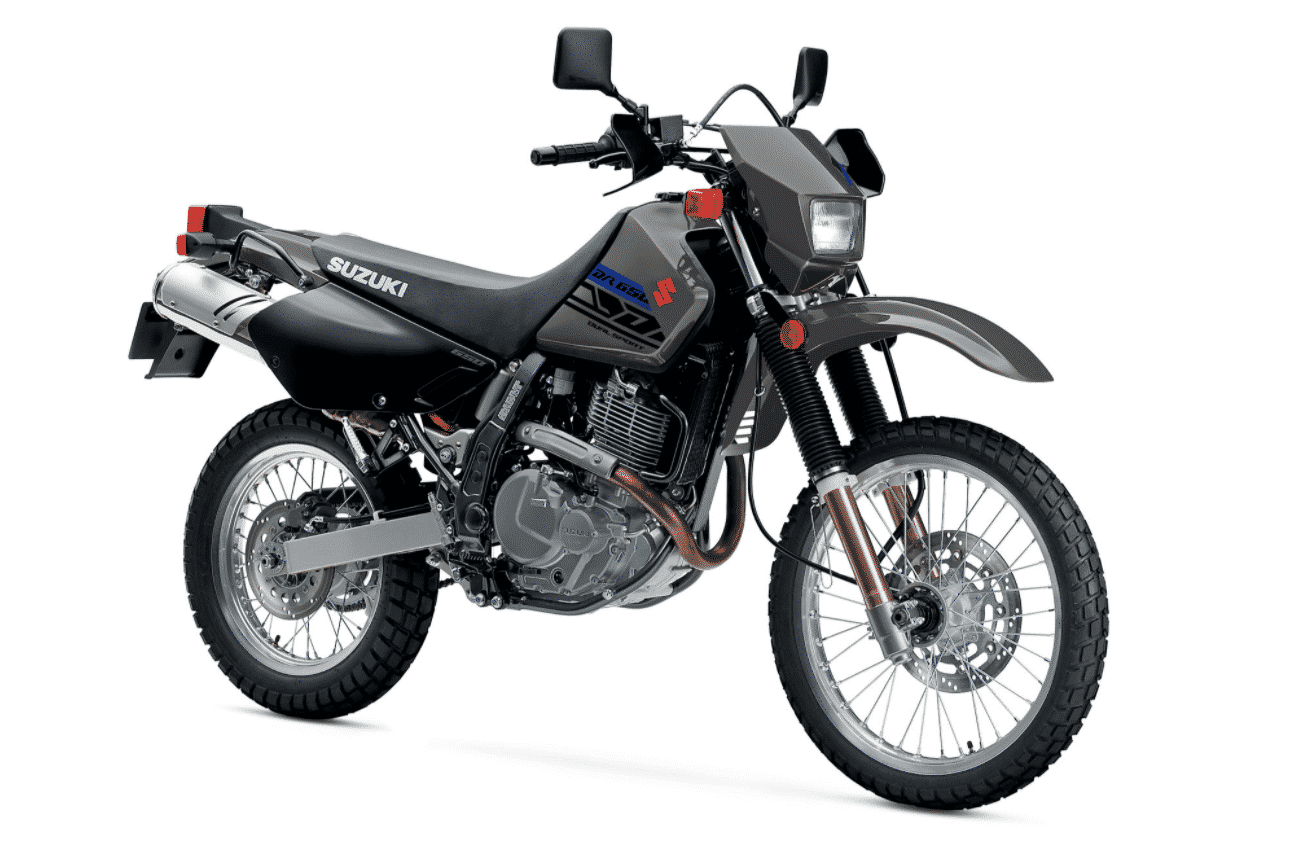
The Suzuki DR650 is an iconic dual sport motorcycle. It’s rugged, simple, and sturdy enough to carry you across deserts and around the world. It is a competitor to the Honda XR650L and also to the Kawasaki KLR650, though both in different ways.
The DR650 is a thumper with a rock-solid reliable 644 cc air/oil-cooled four-stroke single cylinder engine carried in a strong steel, semi-double cradle frame. The telescopic fork and link-style rear suspension can tackle tough trails or urban roads.
The final drive is via a five-speed transmission and chain.
The Suzuki DR650 is no longer sold new in most markets due to failing to meet emissions spec, but it’s still available in a few.
This site has links for things like oil and spark plugs from which we earn a commission (which unfortunately nobody can save, not even us). If you appreciate this work, then please use those links. Thanks!
Suzuki DR650 Service Intervals
Maintaining the DR650 is very simple, since it has a mostly exposed engine and just one cylinder.
The basic oil change service interval for the DR650 is every 3500 miles or 6000 km. You change the oil filter every two oil changes.
The major valve clearance interval for the DR650 is every 7500 miles / 12000 km. There’s only one cylinder but twin spark plugs, so the process is simple. There are four valves, and you adjust them with a screw and locknut, so you just need a few simple tools (it can even be done on the road).
Replace the brake fluid every two years, and keep the general motorcycle clean and lubricated when riding off-road.
What You Need to Service the Suzuki DR650
To service your Suzuki DR650, you’ll need the following parts/consumables.
| Part | Suzuki DR650 spec |
|---|---|
| Engine oil | A bike like this isn’t fussy. The spec required is SAE 10W/40 oil rated at SE, SF, or SG under the API classification. Most motorcycle oils meet this spec. Motul 5100 10W-40 is a cheap and good quality option. |
| Oil filter | Use a Hiflofiltro HF137 for a good quality drop-in replacement. |
| Spark plugs | Use a NGK CR10E gapped to 0.7-0.8mm for a standard spark plug. |
| Brake fluid | Use one of the appropriate spec, e.g. Castrol DOT 4. |
| Chain maintenance | Use either Motul chain paste or a Motul chain care kit if you need a brush, cleaner etc. |
| Grease | Use a lithium soap-based grease for external pivot points. |
| Air filter | You can usually clean the air filter. But if you have to replace it, use a K&N SU-6596. |
Suzuki DR650S Maintenance Schedule
Below is the maintenance schedule for the Suzuki DR650S.
Notes on reading the maintenance schedule:
- Follow the earlier of the time-based or distance-based intervals.
- At the end of the maintenance schedule, keep following it in the pattern shown.
| km x 1000 | 6 | 12 | 18 | 24 | |
|---|---|---|---|---|---|
| miles x 1000 | 4 | 7.5 | 11 | 14.5 | Every |
| Inspection checklist (see below) — Perform | ✓ | ✓ | ✓ | ✓ | Year |
| Engine oil — Replace (Motul 5100 10W-40) Re-tighten drain plug to 24Nm / 18 lb-ft | ✓ | ✓ | ✓ | ✓ | Year |
| Engine oil filter — Replace (HF137) | ✓ | ✓ | 2 years | ||
| Valve clearances — Check / Adjust (see below for notes) | ✓ | ✓ | |||
| Spark plugs — Check condition / gap (0.7-0.8 mm / 0.028-0.031 in) | ✓ | ✓ | |||
| Spark plugs — Replace (NGK CR10E) Hot type plug: NGK CR9E | ✓ | ✓ | |||
| Air filter — Clean. Replace if necessary (K&N SU-6596) | Between services — 3000 km (2000 miles) | ||||
| Brake hoses | 4 years | ||||
| Brake fluid — Replace (Castrol DOT 4) | 2 years | ||||
| Steering bearing — Check smooth operation, adjust as necessary | ✓ | ✓ | |||
| Front fork — Check condition (for scratches / damage) and for leaks | ✓ | ✓ | |||
| Rear suspension — Check condition and for leaks | ✓ | ✓ | |||
| Fuel valve strainer — Clean | ✓ | ✓ | |||
| Evaporative emission control system (if fitted) — Inspect | ✓ | ✓ | Replace every 4 years | ||
| Exhaust pipe bolts and muffler bolts — Tighten Exhaust pipe bolt / muffler connection bolt / Muffler bolt torque: 26 Nm / 19 lb-ft | ✓ | ✓ |
Inspection checklist
Below is the general inspection checklist for the DR650, to be followed according to the schedule above.
| Suzuki DR650 Inspection Checklist |
|---|
| Fuel hose — Check condition, no leaks / pinching |
| Carburettor Idle speed — Check / Adjust Adjust when warm. Use throttle stop screw until engine idles at 1400-1600 rpm. |
| Throttle cable — Check smooth operation, and lubricate if necessary. Adjust play (3-4mm / 0.12-0.16 in) |
| Clutch — Check function and free play. Adjust free play to 10-15mm (0.4-0.6 inches) to contact point. |
| Brakes — Check function |
| Brake hoses — Check condition, no leaks |
| Drive chain — Inspect condition, chain tension |
| Tires — Inspect condition and tread |
| Spark Arrester (if fitted, e.g. US / Canada) — Clean Remove drain plugs, start and rev the engine to blow out the carbon particles, then wait till the engine has cooled and replace the drain plugs |
| Chassis nuts and bolts — Inspect presence and general tightness |
| General Lubrication — Perform (Lithium soap-based grease) Perform between services — Every 1000 km / 600 mi |
Suzuki DR650 Torque Values
Below are the main torque values for the DR650. From the service manual.
| Item | Nm | kg-m | lb-ft |
|---|---|---|---|
| Steering stem head nut | 90 | 9 | 65 |
| Front fork upper clamp bolt | 29 | 2.9 | 21 |
| Front fork lower clamp bolt | 26 | 2.6 | 19 |
| Front fork cap bolt | 23 | 2.3 | 16.5 |
| Front axle | 65 | 6.5 | 47 |
| Front axle holder nut | 10 | 1 | 7 |
| Handlebars clamp bolt | 23 | 2.3 | 16.5 |
| Front brake master cylinder mounting bolt | 10 | 1 | 7 |
| Front brake caliper mounting bolt | 26 | 2.6 | 19 |
| Front brake caliper pad mounting bolt | 18 | 1.8 | 13 |
| Brake hose union bolt (Front & Rear) | 23 | 2.3 | 16.5 |
| Air bleeder valve (Front & Rear) | 8 | 0.8 | 6 |
| Brake disc bolt (Front & Rear) | 23 | 2.3 | 16.5 |
| Rear brake caliper pad mounting bolt | 18 | 1.8 | 13 |
| Rear brake master cylinder mounting bolt | 10 | 1 | 7 |
| Rear brake master cylinder rod lock nut | 18 | 1.8 | 13 |
| Front footrest bracket mounting bolt | 39 | 3.9 | 28 |
| Rear footrest bracket mounting bolt | 23 | 2.3 | 16.5 |
| Swingarm pivot nut | 77 | 7.7 | 55.5 |
| Rear shock absorber mounting bolt (Upper & Lower) | 55 | 5.5 | 40 |
| Rear cushion lever/rod mounting nut | 100 | 10 | 72.5 |
| Rear cushion lever mounting bolt | 80 | 8 | 58 |
| Rear axle nut (with cotter pin) | 100 | 10 | 72.5 |
| Rear axle nut (Self-locking) | 110 | 11 | 79.5 |
| Rear sprocket nut/bolt | 27 | 2.7 | 19.5 |
Maintaining your Chain on your Suzuki DR650
The Suzuki DR650, as an off-road motorcycles, needs frequent attention to the chain.
Maintain your chain regularly. Either use a good-quality (and affordable) chain lube like Motul Chain Paste, or use a full on Motul Chain Care Kit to clean and restore a chain.
Suzuki recommends that you maintain your chain regularly according to the following schedule.
| Chain maintenance item | Every |
|---|---|
| Check chain * Correct tension / slack (30-45mm / 1.2-1.8 in at loosest point on the DR650) * Adequate lubrication * No excessive wear / damage | Ride (pre-ride check) |
| Clean and lubricate chain You can clean with kerosene, or a dedicated chain cleaner. | 1000 km / 600 miles, or more often when riding off-road |
Damage includes loose pins, damaged rollers, dry or rusted links, kinked or binding links, excessive wear, and improper adjustment.
The drive chain service limit for 20 lengths (counting from one point, then 20 from that point — 21 pins point to point) is 319.4 mm / 12.6 inches. If your DR650’s chain is longer than that, it’s time to replace it.
Standard DR650 Drive Chain: DID 525 V9, 110 Links
Adjusting chain tension
Target slack for the Suzuki DR650 is 30-45mm (1.2-1.8 inches) halfway between the engine sprocket and rear sprocket.
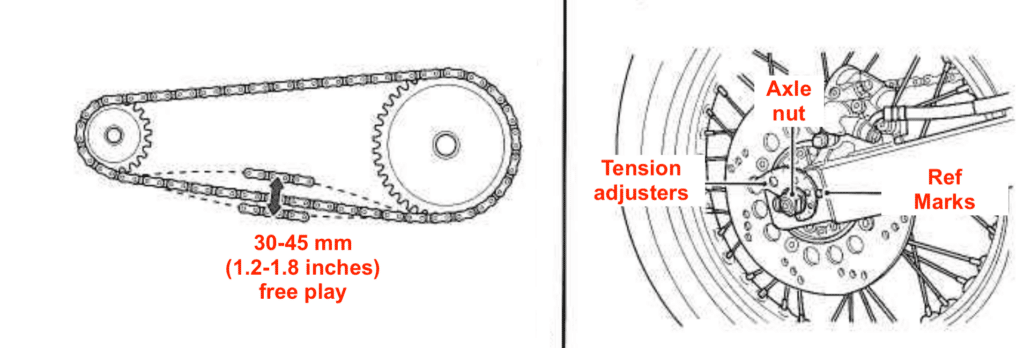
To adjust chain tension, follow this procedure.
- Loosen the axle nut.
- Turn the right and left adjusters until the chain has the target slack level.
- Make sure you keep the rear sprocket in alignment with the front sprocket using the reference marks on the adjusters.
- Tighten the axle nut to 110 Nm / 80 lb-ft
- Replace the cotter pin with a new one.
- Re-check the slack after tightening to make sure it’s still in spec.
Suzuki DR650 Valve clearance adjustment notes
Below are notes on adjusting the valve clearances for the DR650.
To adjust valve clearances, follow this procedure in brief.
Check valve clearances for both the intake and exhaust valve when the piston is at TDC for the compression stroke.
Target clearances (when cold):
| Valve | Metric | Imperial |
|---|---|---|
| Intake | 0.08-0.13mm | 0.003-0.005 in |
| Exhaust | 0.17-0.22mm | 0.007-0.009 in |
To check the valve clearances you need a box wrench for the crank, feeler gauges, and wrenches to adjust the valves (which are screw and locknut type).
- Remove the frame covers, seat, and fuel tank.
- Remove the spark plug and valve inspection caps for both the intake and exhaust.
- Remove the valve timing inspection plug and the magneto cover cap.
- Use a box wrench to turn the crankshaft counter clockwise to set the piston at TDC on the compression stroke. The T line on the magneto rotor should align with the center of the hole on the magneto cover.
- Insert the thickness gauge into the valve, between the stem and the adjusting screw on the rocker arm.
- If the clearance is out of spec, bring it into spec. Securely tighten the lock nut when you’re done.
- Reinstall everything. Don’t forget the spark plugs!
Tyre size and tyre pressure for the Suzuki DR650
The manual gives the following tyre specs for the DR650S, as well as the following recommended tyre pressure ranges when cold.
Note: The DR650S runs tubed tyres. It ships with Bridgestone Trail Wings, but any mixed-use tire will do.
| Tyre | Size | Tyre pressure (cold) |
|---|---|---|
| Front | 90/90-21 M/C 54S | Solo: 150 kPa / 1.5 bar / 22 psi Dual: 175 kPa / 1.75 bar / 25 psi |
| Rear | 120/90-17 M/C 64S | Solo: 175 kPa / 1.75 bar / 25 psi Dual: 200 kPa / 2 bar / 29 psi |
About the Suzuki DR650
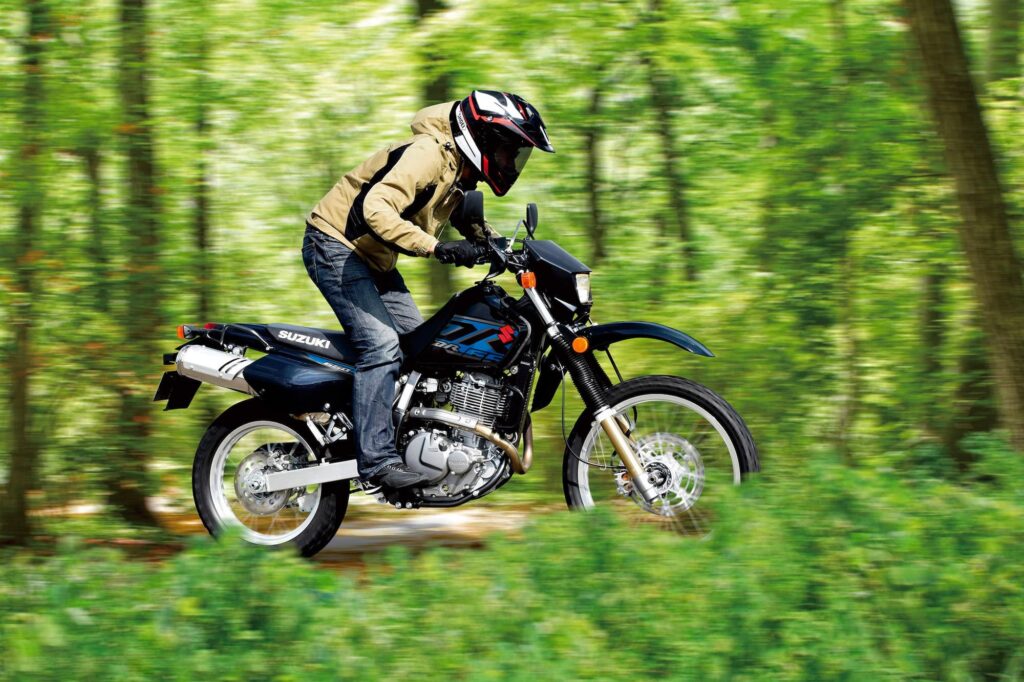
The DR650 is the archetypical go-anywhere dirt bike, frequently used as a platform for adventure travel.
In base form, the Suzuki DR650 is not particularly capable as an adventurer. It needs a bigger tank and improvements to its suspension, at least. But it’s what it promises that is very different.
The DR650 is powered by an air/oil-cooled 644 cc thumper engine. There’s no liquid cooling system to complicate things, much less ride by wire or traction control just waiting to fail and leave you stranded.
The DR650 breathes through a Mikuni BST40 CV carburettor. It’s old-fashioned, but it’s also very fixable when the time comes to fix it.
The DR650’s big piston has a 100 mm bore and 82 mm of stroke, making it slightly oversquare, and the engine has a relatively low compression ratio of 9.5:1 — meaning it’ll be fine on any old gas. Final drive is via a five-speed transmission and chain drive.
The first Suzuki DR650 (of this kind, the DR650SE) was introduced in 1996, and while it has evolved since then, the more interesting thing is how much it hasn’t changed. The current DR650 is essentially the same as the original.
The engine may only put out 34 kW (46 hp) at peak, but you don’t really measure peak power for a bike like this. For a bike this light that is going to travel mostly off-road, it’s perfect. No wonder Suzuki hasn’t changed it in literally decades. (Also, any changes might make it run afoul of emissions regulations.)
The front suspension is composed of 43mm KYB forks with gold anodized lower legs. The 1996+ DR650 also has an oil cooler, an electric starter system without a back-up kick lever (this is the E in the name DR650SE, by the way), and a small fairing.
The brakes on the 1996+ DR650 are composed of a single 290mm floating front disc and a 2-piston Nissin caliper. The rear is also a disc — no drums to fiddle with.
The DR650S definitely weighs in at the bottom of the range for true big-bore dual-sport machines at 166 kg (366 pounds) wet. This is partly due to its small gas tank — something many people upgrade for long-distance travel with dual overslung long-range tanks.
Reference — Manual for the Suzuki DR650
The above maintenance schedule comes directly from the user’s manual for the Suzuki DR650. See a screenshot below.
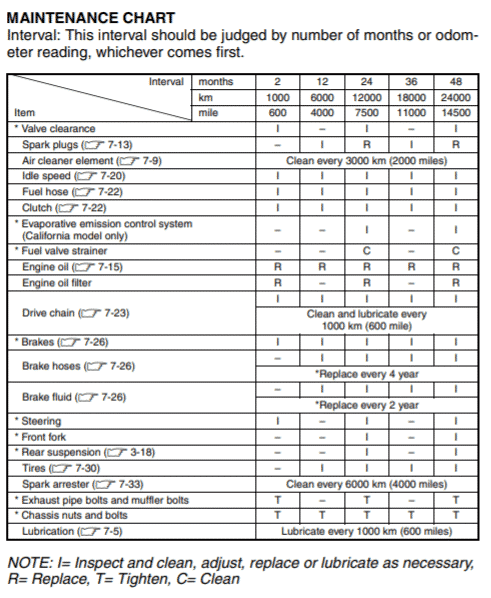
You can download Suzuki owner’s manuals from here.
